How Long to Bake Shrimp at 400? Roast Shrimp in the Oven
How Long to Bake Shrimp at 400? Baking shrimp at a high temperature of 400°F transforms them into a delicious and tender treat within just 6-8 minutes. I’ll show you how to pick the perfect kind of shrimp for this method, whether fresh or frozen and the importance of their size in adjusting cooking times.
You’ll learn to prep your shrimp by peeling, deveining, seasoning with simple spices like salt and pepper, and tossing them in olive oil for extra flavor. In the oven section, we’re going to look at tips that ensure your shrimp do not overcook – keeping an eye on them is key since ovens vary and they continue to cook even when out of the heat.
For those interested in other methods beyond baking, I’ll touch on alternatives like grilling or air frying as well as serving ideas that could turn these pink delights into a complete meal.
And if there are leftovers (which might be unlikely!), you’ll get advice on storing them properly. Get ready; scrumptious oven-roasted shrimp await.
Key Takeaways
- Bake shrimp at 400°F for 6 – 8 minutes to achieve a tender and flavorful result. Keep a close watch to prevent overcooking, especially since larger shrimp might need an extra minute or two.
- Fresh shrimp often yield a more tender dish but frozen can work just as well if properly thawed. Season with olive oil, salt, pepper, and your preferred herbs or spices before baking.
- Arrange the seasoned shrimp in a single layer on a baking sheet to ensure even cooking. Preheat the oven before placing them inside for the best results.
- For alternative flavors and textures, consider grilling shrimp over medium-high heat for 2-3 minutes per side or air frying them at 400°F for 5-7 minutes until pink and opaque.
- Store leftover baked shrimp in an airtight container in the refrigerator and consume it within three days. Pair baked shrimp with sides like salads, roasted vegetables, or garlic butter rice for a complete meal.
The Best Shrimp to Use for Baking
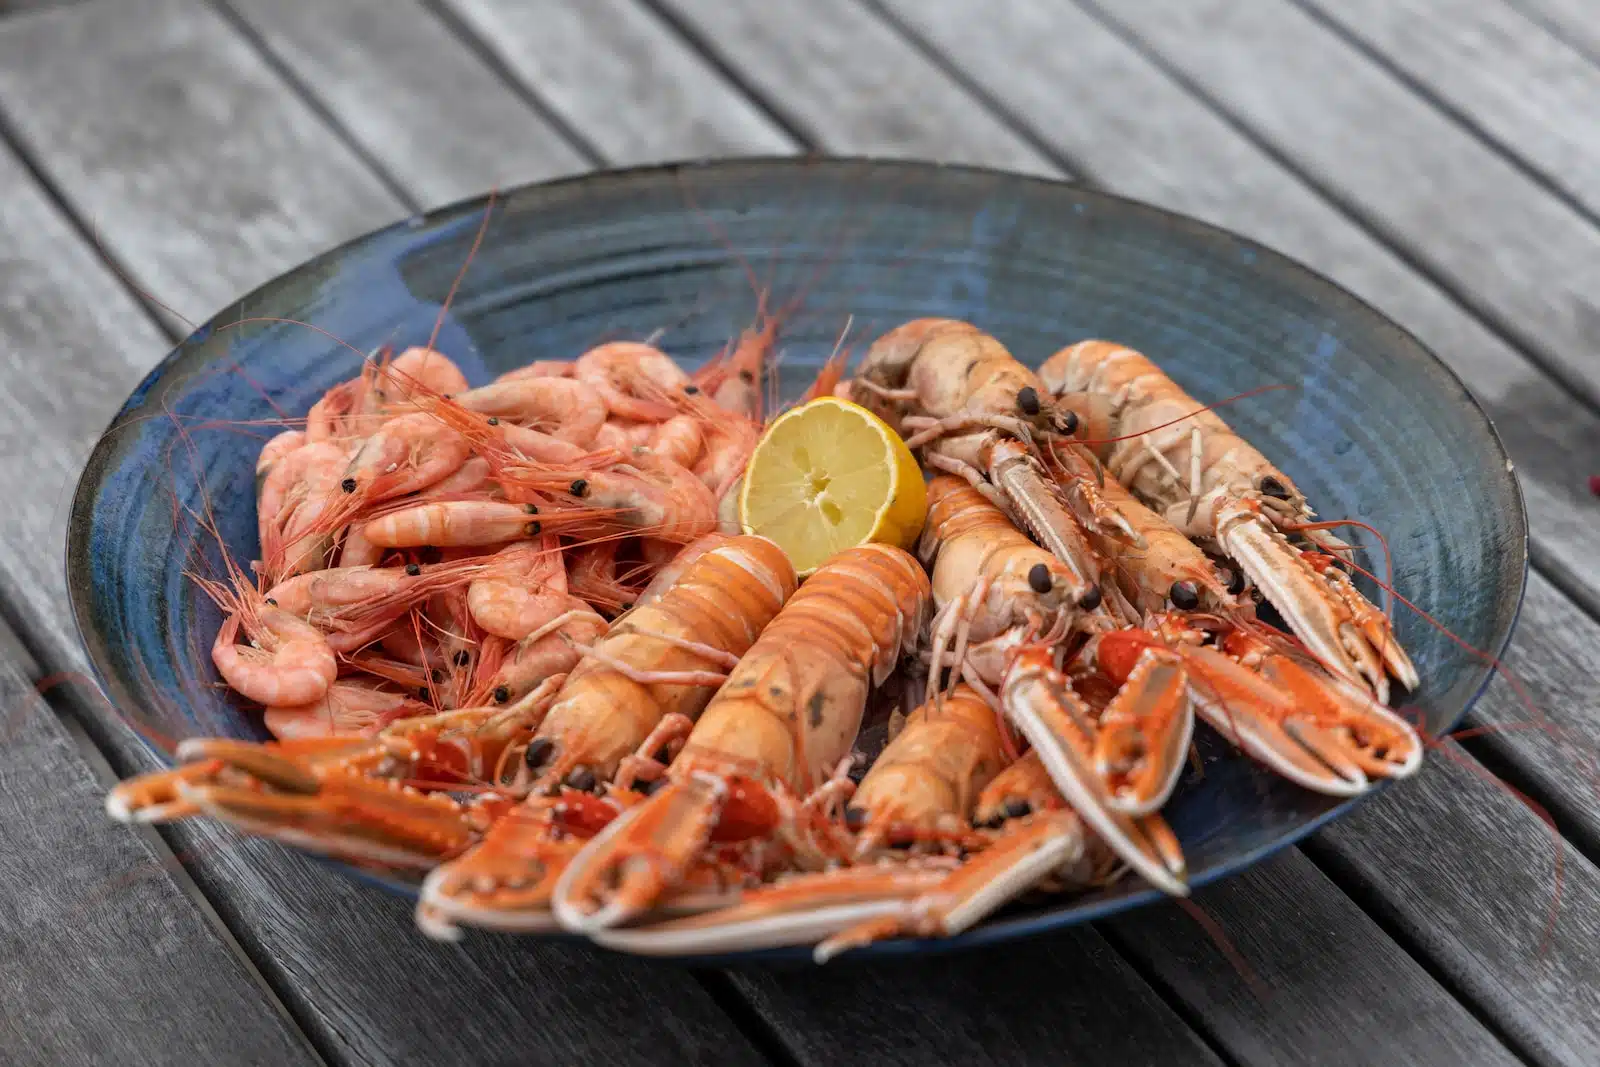
Fresh raw shrimp is always the best choice for baking, as it will yield a more flavorful and tender result. When using frozen shrimp, be sure to thaw them properly before cooking to avoid excess moisture in the dish.
The size of the shrimp also matters, with larger shrimp taking longer to cook than smaller ones.
Fresh vs. Frozen Shrimp
When it comes to baking shrimp in the oven, the debate between using fresh versus frozen shrimp is a common one. Let’s dive into the different aspects of using both types of shrimp for your baked dishes.
| Fresh Shrimp | Frozen Shrimp |
|---|---|
| Often have a more tender texture when cooked. | Convenient, available year-round, and easy to store. |
| Require immediate cooking or proper storage to prevent spoilage. | Must be defrosted properly to ensure even cooking. |
| They can be costly depending on availability and season. | Usually more budget-friendly than fresh shrimp. |
| May offer a slightly better flavor profile if caught and prepared properly. | Can be just as flavorful if properly seasoned and cooked. |
| No need to account for extra cooking time as there’s no defrosting required. | Cooking time may be extended if not fully thawed before baking. |
Deciding between fresh and frozen shrimp will depend on your preferences, budget, and convenience. Remember that baking shrimp at 400°F, whether fresh or frozen, will require close attention to avoid overcooking. Every oven is different, so keep a watchful eye to ensure your shrimp are perfectly baked to a pink, opaque, and white finish.
Size of Shrimp
Shrimp come in various sizes, ranging from small to jumbo. The size of the shrimp can impact the cooking time; larger shrimp will require a longer time in the oven at 400°F, while smaller ones will cook more quickly.
It’s essential to keep this in mind when baking shrimp to ensure they are perfectly cooked and not overdone.
If you’re using jumbo or extra-large shrimp, be prepared to adjust your cooking time accordingly; these larger sizes may take an additional 1-2 minutes compared to medium or small-sized shrimp when baked at 400°F.
How to Prepare Shrimp for Baking?
I start by peeling and deveining the shrimp, making sure to remove the shell and vein running along the back. Then, I season the shrimp with my choice of flavors and coat them in a light layer of oil before baking them in the oven.
Peeling and Deveining
To prepare shrimp for baking, I start by peeling off the shell and removing the legs, leaving the tail intact. Using a small paring knife, make a shallow incision along the back of the shrimp to expose the dark vein. Then gently lift and remove the vein using the tip of the knife.
- Begin by rinsing the shrimp under cold water.
- Gently pat them dry with paper towels.
- Remove the shell by pinching it near the head and peeling it off.
- Use kitchen shears to cut along the back of each shrimp to expose the vein if preferred.
- Alternatively, use a deveining tool for quicker removal of veins from larger batches.
- Rinse again before seasoning and baking.
Seasoning and Flavors
I season my shrimp with a simple yet flavorful mixture of olive oil, minced garlic, salt, and pepper. I find that this combination enhances the natural flavor of the shrimp without overpowering it.
You can also add fresh herbs like parsley or dill for a burst of freshness. Additionally, a squeeze of lemon juice just before serving adds brightness to the dish, complementing the savory flavors perfectly.
For a spicy kick, I sometimes sprinkle some red pepper flakes over the shrimp before baking them in the oven – this gives them an extra punch of heat. Another option is to use Cajun seasoning or Old Bay seasoning for a more robust and complex flavor profile.
Experimenting with different seasonings allows me to create diverse flavor profiles while keeping the cooking process straightforward.
Coating in Oil
I coat the shrimp in olive oil for an even and flavorful finish before baking. This helps to lock in moisture and ensures that the shrimp does not dry out during cooking. The oil also helps the seasoning adhere to the shrimp, creating a delicious outer crust.
Olive oil adds a light, fruity flavor to the shrimp without overpowering its natural taste. It’s important not to use too much oil; a light coating is sufficient to achieve a perfect balance of moisture and texture.
After coating it with oil, I season the shrimp with salt and pepper to enhance its taste while keeping it simple.
Baking Shrimp in the Oven

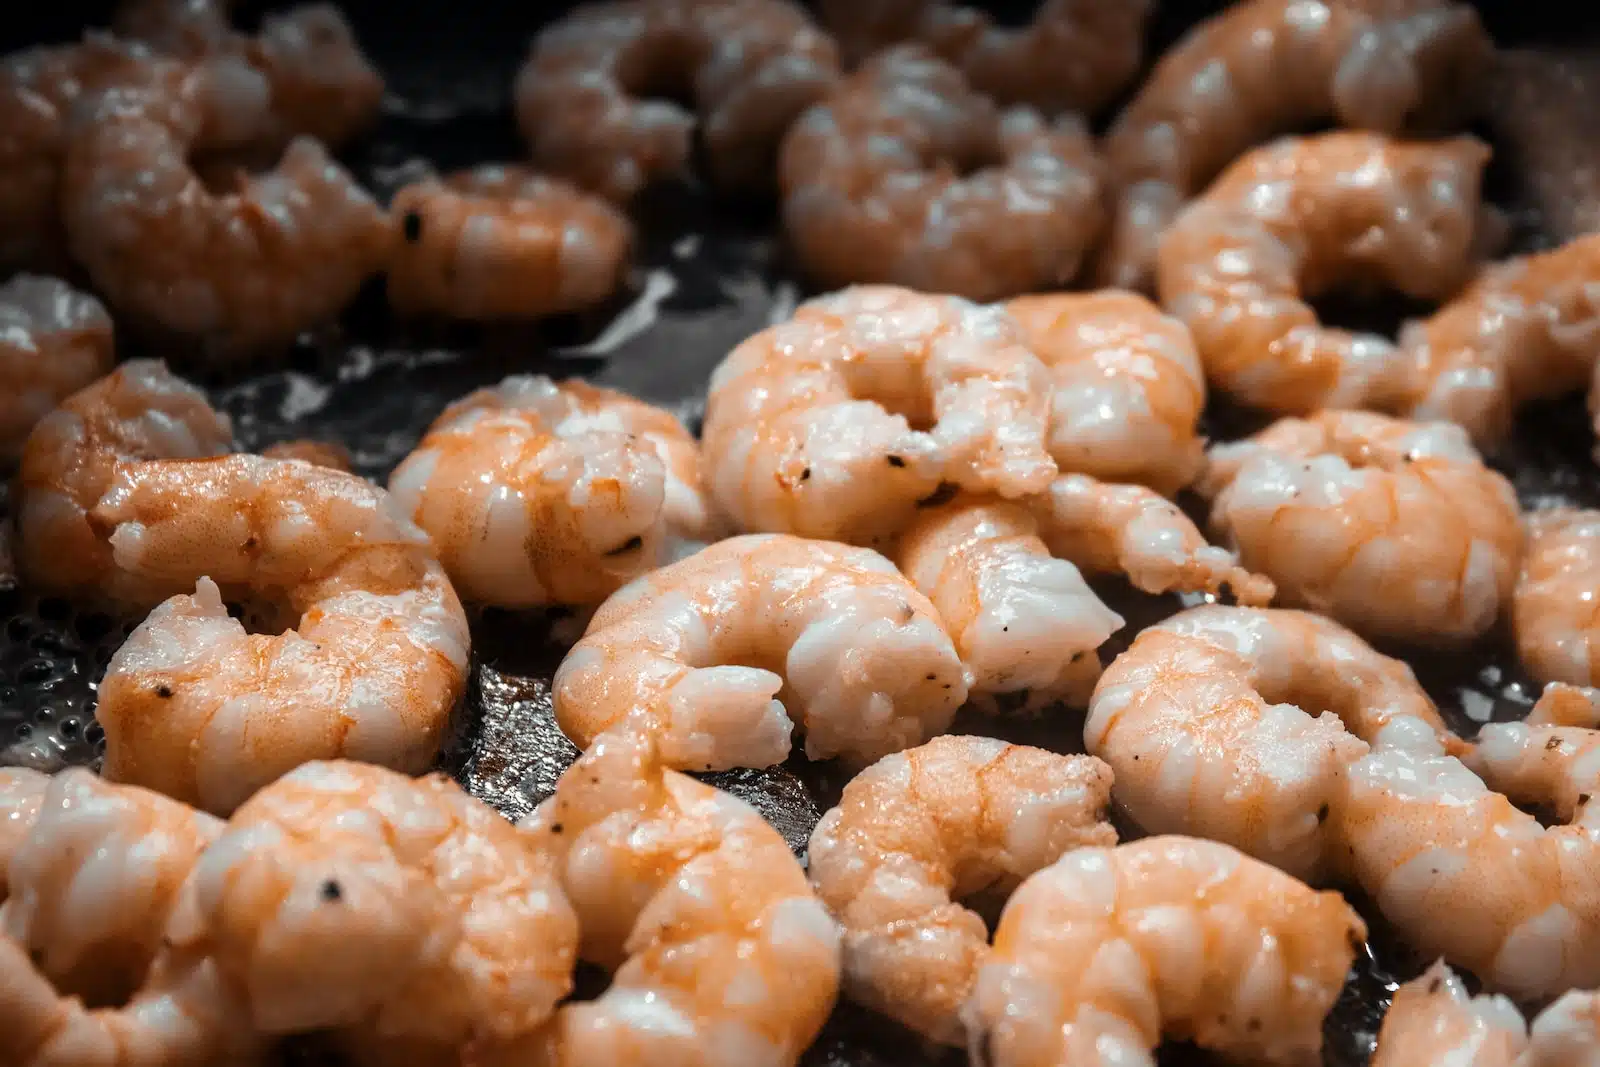
Preheat the oven to 400°F and spread the seasoned shrimp evenly on a baking sheet. Bake for 6-8 minutes, flipping once halfway through until they are pink and opaque. Keep an eye on them to avoid overcooking.
Oven Temperature and Time
To bake shrimp in the oven, I preheat it to 400°F. Then, I spread the prepared shrimp on a baking sheet and bake for about 6-8 minutes until they are pink, opaque, and white. It’s crucial to keep an eye on them since cooking time can vary based on their size. The high temperature ensures that the shrimp cooks quickly while still retaining its juiciness. Before baking, I toss the shrimp with olive oil, salt, and pepper for added flavor.
If using large shrimp, they may need a bit more time than medium or small ones. However, it’s important not to overcook them as their temperature will continue to rise even after removing them from the oven. Also worth noting is that different ovens vary in actual temperature; hence it’s essential to monitor closely throughout the cooking process – this holds true even when baking frozen shrimp at 400°F for a slightly longer duration.
Tips for Perfectly Baked Shrimp
To ensure perfectly baked shrimp, follow these tips:
- Monitor the shrimp closely to avoid overcooking; larger shrimp may require a longer cooking time than smaller ones. Stop baking when shrimp are pink.
- Toss the shrimp with olive oil, salt, and pepper before baking to enhance flavor and prevent dryness.
- Use a baking sheet large enough to arrange the shrimp in a single layer, ensuring even cooking.
- Preheat the oven to 400°F before placing the shrimp inside for optimal results.
- Avoid overcrowding the baking sheet to allow for proper air circulation around each piece of shrimp.
- Consider using a meat thermometer to ensure that the internal temperature of the thickest part of the shrimp reaches 120°F.
- Allow the cooked shrimp to rest for a few minutes after removing them from the oven; their internal temperature will continue rising during this time, ensuring perfect doneness.
Alternative Cooking Methods for Shrimp
If you’re looking to switch up your cooking methods for shrimp, try grilling or air frying for a different flavor and texture. Grilling can add a smoky char to the shrimp, while air frying can give them a crispy coating without any added oil.
Grilling
To grill shrimp, start by preheating the grill to medium-high heat. Place the shrimp on skewers or use a grilling basket to prevent them from falling through the grates. Brush the shrimp with oil and season with salt, pepper, and any desired seasonings. Grill the shrimp for 2-3 minutes per side until they are pink, opaque, and white. Avoid overcooking by keeping an eye on them as they cook.
Remove the shrimp from the grill and let them rest for a few minutes before serving to allow their temperature to rise slightly. Grilled shrimp can be served as an appetizer or added to salads and pasta dishes for a delicious seafood boost.
Air Frying
I air fry shrimp at 400°F for about 5-7 minutes.
- Preheat the air fryer to 400°F.
- Lightly coat the shrimp with oil and seasonings before placing them in the air fryer basket.
- Arrange the shrimp in a single layer to ensure even cooking.
- Cook the shrimp in the preheated air fryer for 5 – 7 minutes, flipping them halfway through.
- Check for pink, opaque, and white shrimp to ensure they are fully cooked.
- Avoid overcrowding the air fryer basket to allow hot air circulation around each piece of shrimp.
- Adjust cooking times based on the size of the shrimp; larger shrimp may require slightly longer cooking.
Serving Suggestions and Storing Leftovers
When serving baked shrimp, consider pairing it with a fresh salad or a side of roasted vegetables for a well-rounded meal. Leftover shrimp can be stored in an airtight container in the refrigerator for up to 3 days, and can be reheated in the oven or microwave as needed.
Side Dishes and Accompaniments
When serving oven-baked shrimp, it’s best to complement the dish with flavorful side dishes and accompaniments. The following options pair perfectly with succulent shrimp:
- Fresh Salad: A light, refreshing salad with mixed greens, cherry tomatoes, and a zesty vinaigrette brings a delightful contrast to the savory shrimp.
- Grilled Vegetables: Charred bell peppers, zucchini, and asparagus add a smoky flavor that complements the delicate taste of the shrimp.
- Garlic Butter Rice: Fragrant jasmine rice cooked in garlic-infused butter serves as a delicious base for the juicy baked shrimp.
- Crusty Bread: Slices of warm crusty bread or garlic bread are perfect for soaking up the savory juices from the baked shrimp.
- Citrus Coleslaw: Tangy citrus coleslaw with shredded cabbage and a hint of lime provide a fresh and crisp accompaniment to the succulent shrimp.
- Quinoa Pilaf: Nutty quinoa combined with sautéed onions, garlic, and herbs offers a wholesome side that pairs well with oven-baked shrimp.
- Roasted Sweet Potatoes: Soft and caramelized roasted sweet potato wedges offer a delightful contrast in both flavor and texture alongside the tender baked shrimp.
- Cornbread Muffins: Fluffy cornbread muffins serve as an ideal side to indulge in alongside piping hot oven-baked shrimp.
Proper Storage for Leftover Shrimp
Leftover shrimp should be promptly refrigerated in an airtight container to maintain its freshness. It is crucial to consume the leftover shrimp within 2 days to ensure safety and quality.
If you plan to store it for longer, consider freezing it in a freezer-safe bag for up to 3 months. Remember that proper storage prevents the growth of harmful bacteria and preserves the flavor and texture of the shrimp.
FAQs
How long should I bake shrimp in the oven at 400 degrees?
To roast shrimp perfectly, bake them in the oven at 400 degrees for about 6 to 8 minutes.
What is a good baking temperature for shrimp to get them juicy and delicious?
The ideal baking temperature for succulent oven-baked shrimp is 400 degrees Fahrenheit.
Can you give me a simple shrimp recipe for roasting in the oven?
Yes! Toss your shrimp with garlic, lemon juice, and olive oil; then spread them on a sheet pan to roast in the oven at 400 degrees until they’re pink and cooked through.
Is it better to roast or grill seafood like shrimp when cooking?
Roasting seafood like shrimp in an oven can provide even cooking and allows flavors from ingredients like lemon and garlic to infuse, while grilling gives a smoky taste – both methods have their unique benefits!
How do I make a tasty roasted seafood dinner using shrimp?
Try making an easy sheet pan dinner by mixing seasoned shrimp with vegetables and wrapping them up into foil packets before baking – this keeps all those yummy juices locked in.
Conclusion
Baking shrimp at 400°F for 6-8 minutes ensures quick and efficient cooking. The simple seasoning with olive oil, salt, and pepper makes this method practical and easy to implement.
Have you ever tried roasting shrimp in the oven? When done right, it can lead to delicious results that will impress your guests. Consider trying out this high-temperature cooking method for perfectly cooked shrimp next time.
Emphasizing the importance of proper cooking techniques can elevate seafood dishes to a whole new level.