How Long to Boil Chicken Tenders?
Are you on the hunt for a simple method to cook chicken tenders that promises moist and scrumptious results every time? If so, you’re in good company. It’s common for home chefs to face the challenge of dry or flavorless chicken, often left wondering just how long those lean cuts should simmer in a pot of boiling water.
Believe me, I understand the temptation to keep an eagle eye on the stove, fingers crossed for anything but a dinner destined to double as a bouncy ball.
But there’s good news! Through my adventures in kitchen trial and error and drawing wisdom from cooking aficionados, I’ve unearthed the golden rule: A quick 8-10 minute soak in rolling boil is your ticket.
This article will guide you through each step so that you can masterfully boil your chicken tenders into succulence. Imagine tender bites bursting with flavor that are perfect solo or incorporated into beloved dishes.
Are you ready to ditch haphazard techniques and embrace this foolproof approach? Let’s get right into it—it’s simpler than pie.
Key Takeaways
- Boil fresh chicken tenders for 15-17 minutes and frozen ones for 20-25 minutes to ensure they are fully cooked.
- Use a meat thermometer to check that the internal temperature has reached at least 165°F (74°C) for food safety.
- Store leftover boiled chicken tenders in an airtight container in the refrigerator for up to 3 – 4 days and reheat properly before eating again.
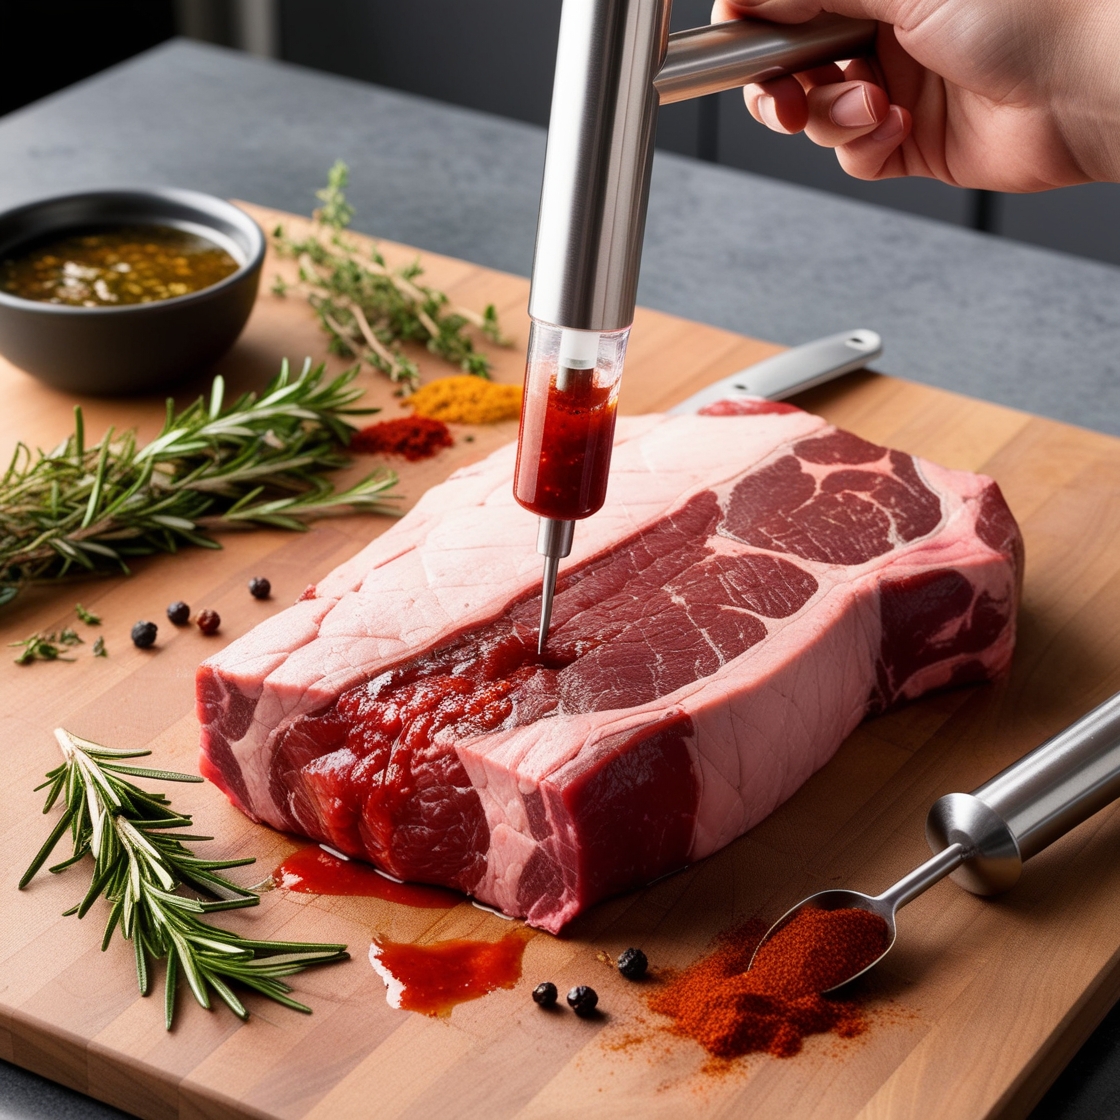
- For added flavor, season your water with herbs like rosemary or spices such as garlic powder before boiling the chicken tenders.
- Shredded boiled chicken tenders can be used in a variety of dishes, from salads and sandwiches to tacos and casseroles.
Why Boil Chicken Tenders
Boiling chicken tenders is a quick and easy method that requires minimal effort. It’s a versatile way to cook the meat, making it suitable for various recipes like salads, sandwiches, and soups.
Quick and easy method
I love boiling chicken tenders when I’m short on time but still want a tasty and healthy meal. It’s a straightforward method: just drop them in hot water, and they cook through while staying moist.
No need to worry about breading or extensive prep; this technique simplifies the entire process. Plus, it sets you up for countless recipes like salads, soups, and wraps.
Getting these tenderloins ready is a breeze! All I do is season them with salt and pepper before bringing a pot of water to a gentle boil. Then, I carefully place the chicken tenders in the pot and let them simmer away.
You don’t even have to stand by the stove—I use this cooking time to whip up sides or dressings.
Ensuring my chicken tenders are perfectly cooked every time isn’t guesswork either. A meat thermometer takes out all the guessing by confirming they’ve reached a safe internal temperature.
Once done, just letting them rest off-heat brings each piece to tender perfection that’s ready for whatever dish I plan next or even as leftovers for tomorrow’s lunchbox treat—simple yet so satisfying.
Versatile for various recipes
Boiling chicken tenders is a versatile cooking method that can be used in various recipes. Once the chicken tenders are boiled and shredded, they can be added to salads, wraps, or sandwiches for a healthy and protein-packed meal.
Moreover, boiled chicken tenders can be seasoned with different herbs and spices to suit the flavor profile of dishes such as soups, stir-fries, casseroles, or pasta. This cooking method also works well for preparing chicken to use in tacos, enchiladas, or as a topping for pizzas.
Additionally, the versatility of boiled chicken tenders extends to pet food preparation. Boiled and shredded chicken tenderloins provide an excellent source of lean protein for dogs’ homemade meals while ensuring their safety through proper boiling techniques.
The adaptable nature of this cooking process makes it suitable not only for human consumption but also beneficial when caring for our furry friends.
Saves time and effort
Boiling chicken tenders saves time and effort because it’s a quick and straightforward method of cooking. With just 15-17 minutes of boiling, fresh chicken tenders are ready to use in various recipes.
Additionally, when boiling frozen chicken tenders, the process requires only 20-25 minutes, making it a convenient option for busy schedules.
Furthermore, this cooking technique is versatile and can be used for preparing shredded chicken or as an ingredient in other dishes without much hassle. Overall, boiling chicken tenders offers a time-saving solution for those looking to cook tender and flavorful chicken without spending too much time in the kitchen.
Ingredients and Equipment Needed
To boil chicken tenders, you will need some basic ingredients and equipment. These include chicken tenders, salt and pepper for seasoning, and a large pot with a lid to cook the chicken in.
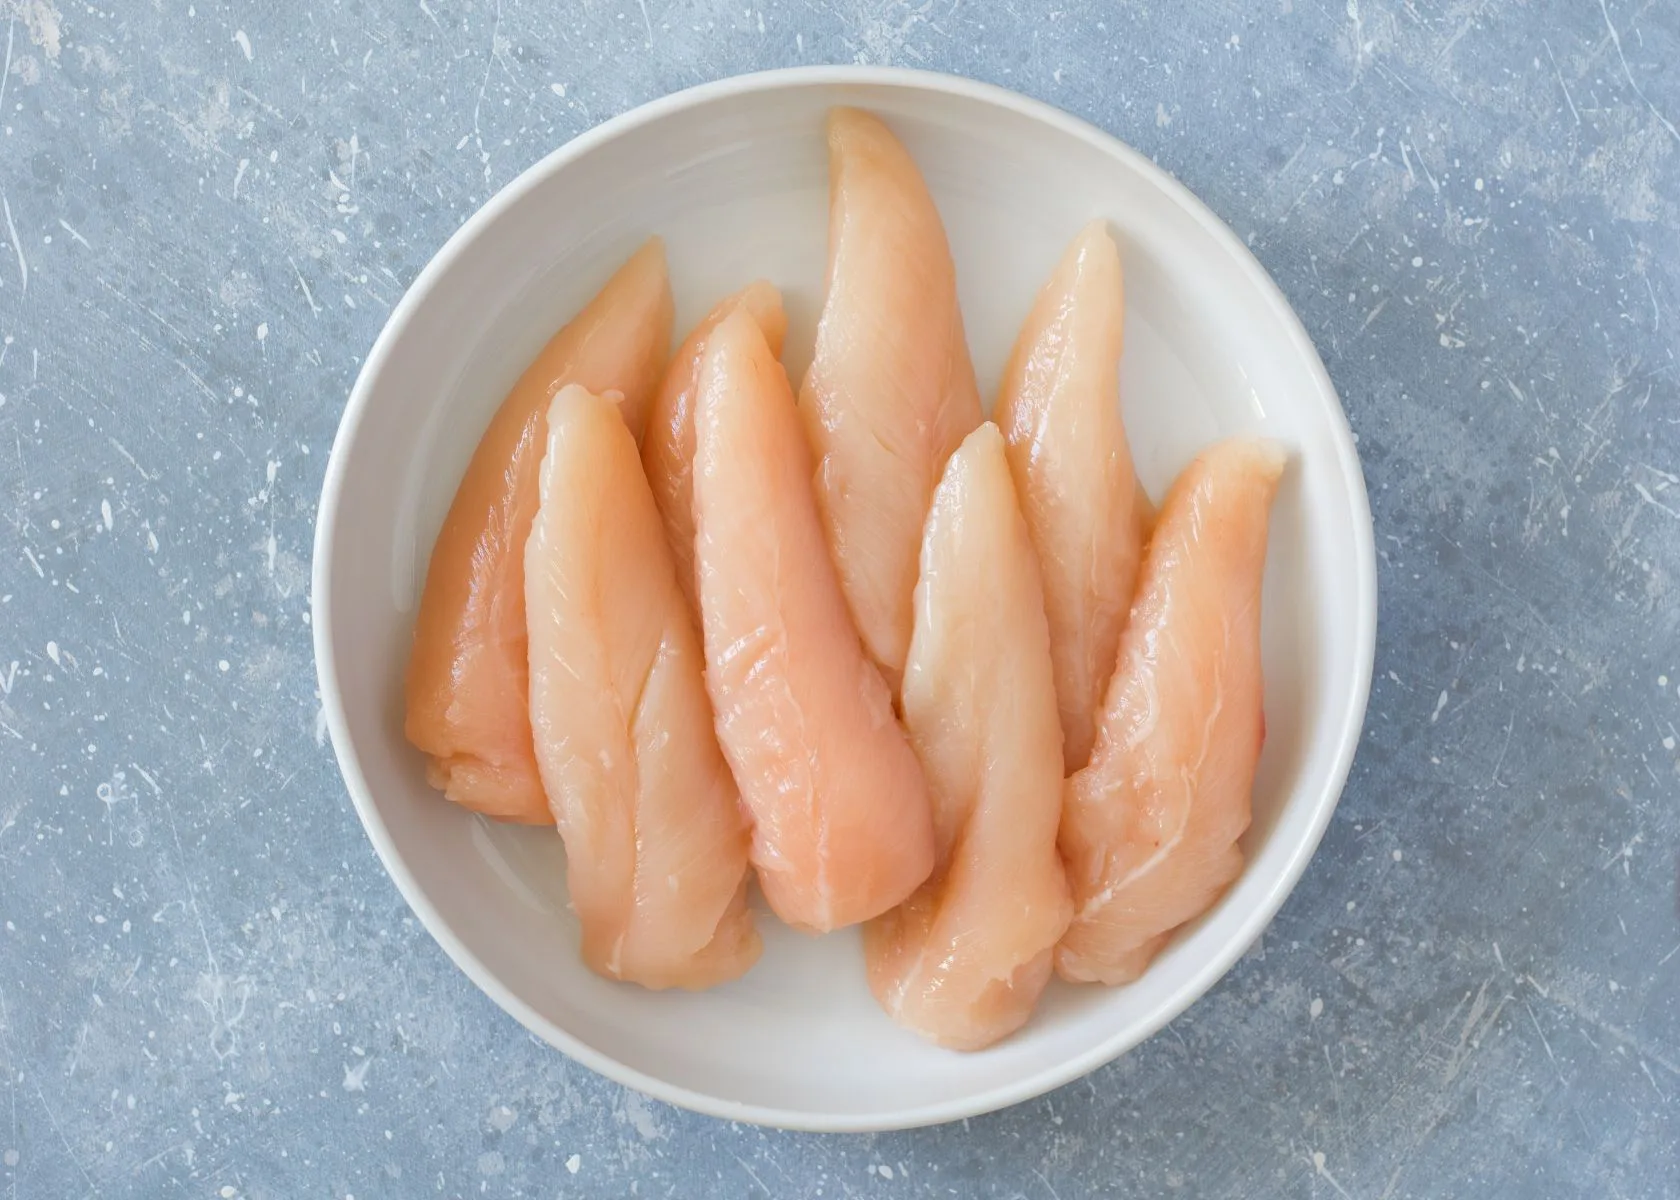
Chicken tenders
Boiling chicken tenders is a quick, uncomplicated cooking method that ensures tender and succulent meat ideal for various dishes. The recommended boiling time for fresh chicken tenders ranges from 15-17 minutes, while frozen ones should be simmered for 20-25 minutes to guarantee they are thoroughly cooked.
It’s essential to use a meat thermometer to confirm the internal temperature of the chicken reaches at least 165°F (74°C) before consuming it.
To retain its juiciness and prevent dryness, allow the boiled chicken tenders to rest off the heat for around 15-17 minutes before serving or using them in other recipes. Boiling is also an efficient technique if you plan on shredding the tender poached chicken or incorporating it into pet food, such as for dogs.
Salt and pepper
After boiling the chicken tenders, it’s essential to season them properly. A generous sprinkling of salt and pepper enhances the natural flavors of the tender poached chicken. This simple seasoning adds depth and balance to the dish, elevating its taste profile.
Additionally, a dash of pepper provides a subtle kick, complementing the mild flavor of boiled chicken tenders.
While boiling fresh or frozen chicken tenders, I ensure to have my salt and pepper ready for immediate use once they are cooked through. The seasoning process takes only a few seconds but makes a significant difference in enhancing the overall taste of this versatile protein source.
Large pot and lid
A large pot with a well-fitting lid is essential for boiling chicken tenders. It ensures that the chicken cooks evenly by trapping the heat and steam inside, allowing for tender and juicy results.
When simmering fresh or frozen chicken tenders, it’s important to use a pot large enough to hold the meat comfortably without overcrowding, as this can affect the overall cooking time.
An appropriately sized pot also prevents excessive splattering and helps maintain an even temperature throughout the boiling process.
How to Boil Chicken Tenders
To boil chicken tenders, start by seasoning the raw chicken with salt and pepper, then placing them in a large pot of boiling water for the specified time. For more detailed instructions on the boiling process and how to perfectly cook your chicken tenders, keep reading!
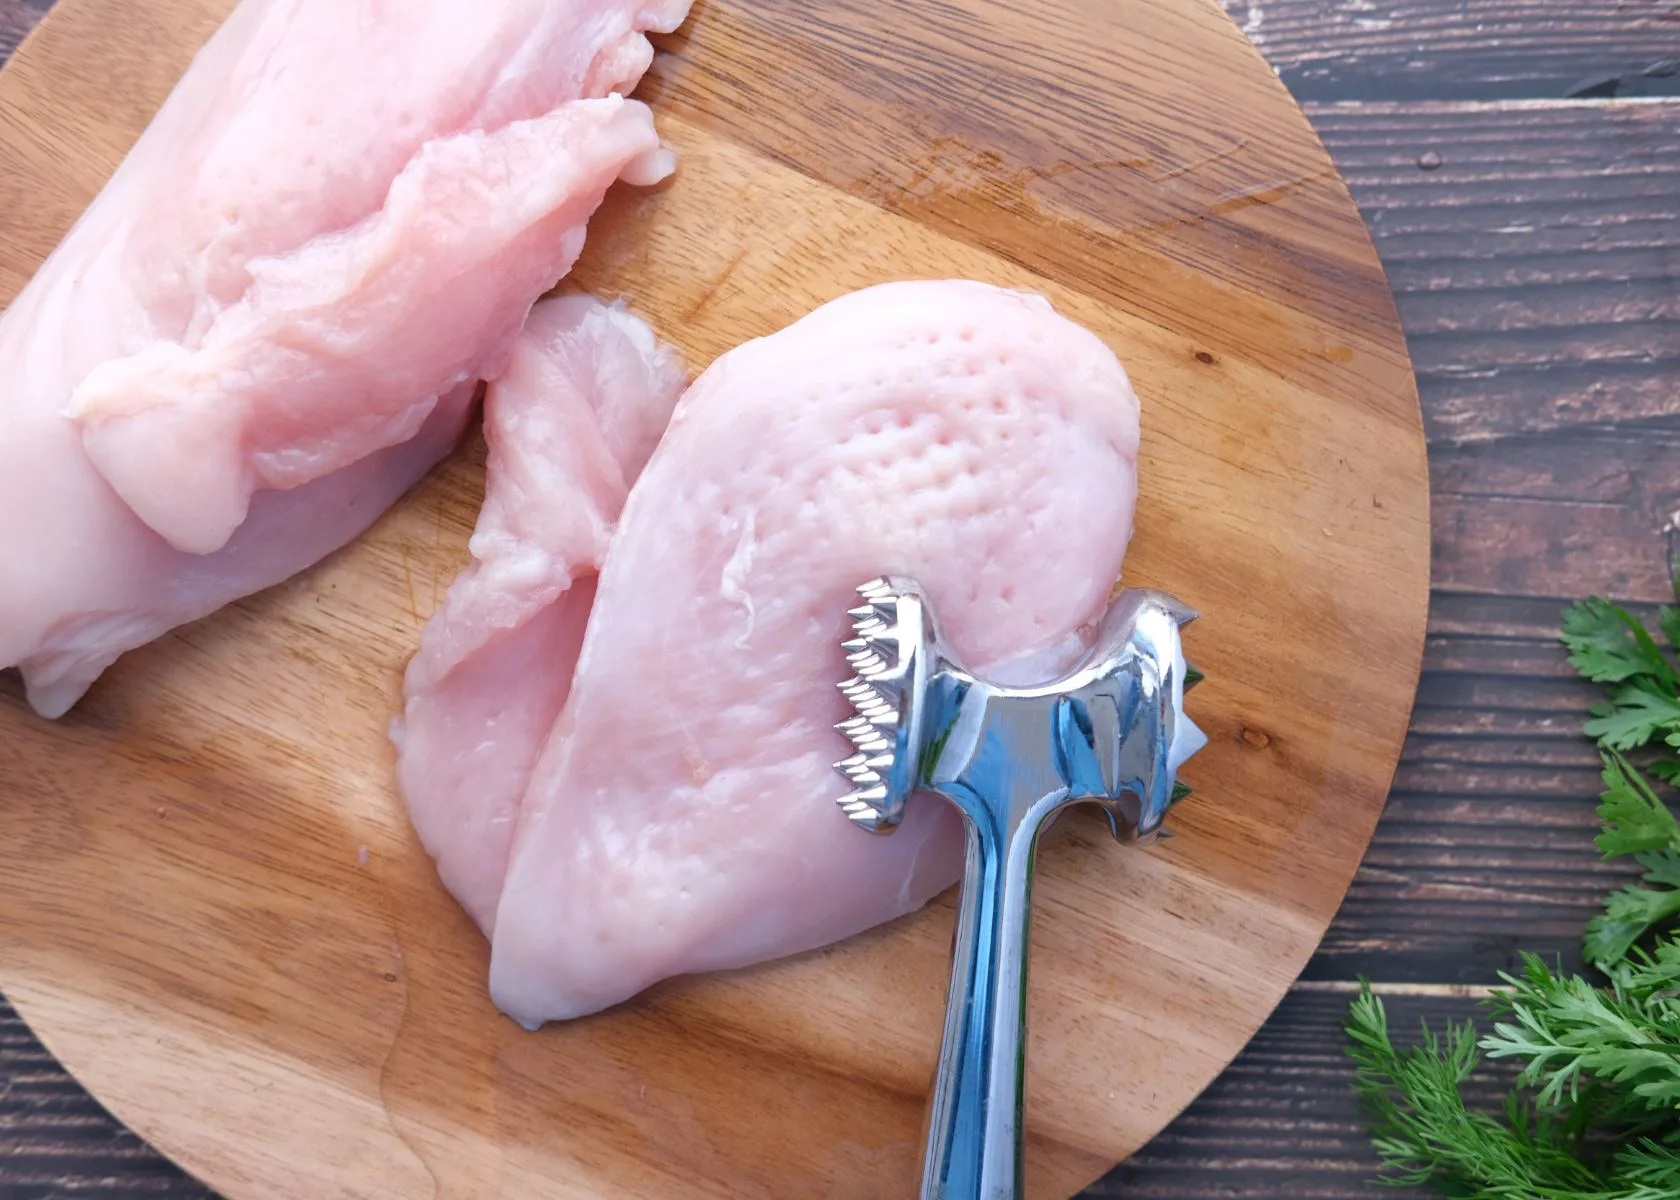
Prepping the chicken
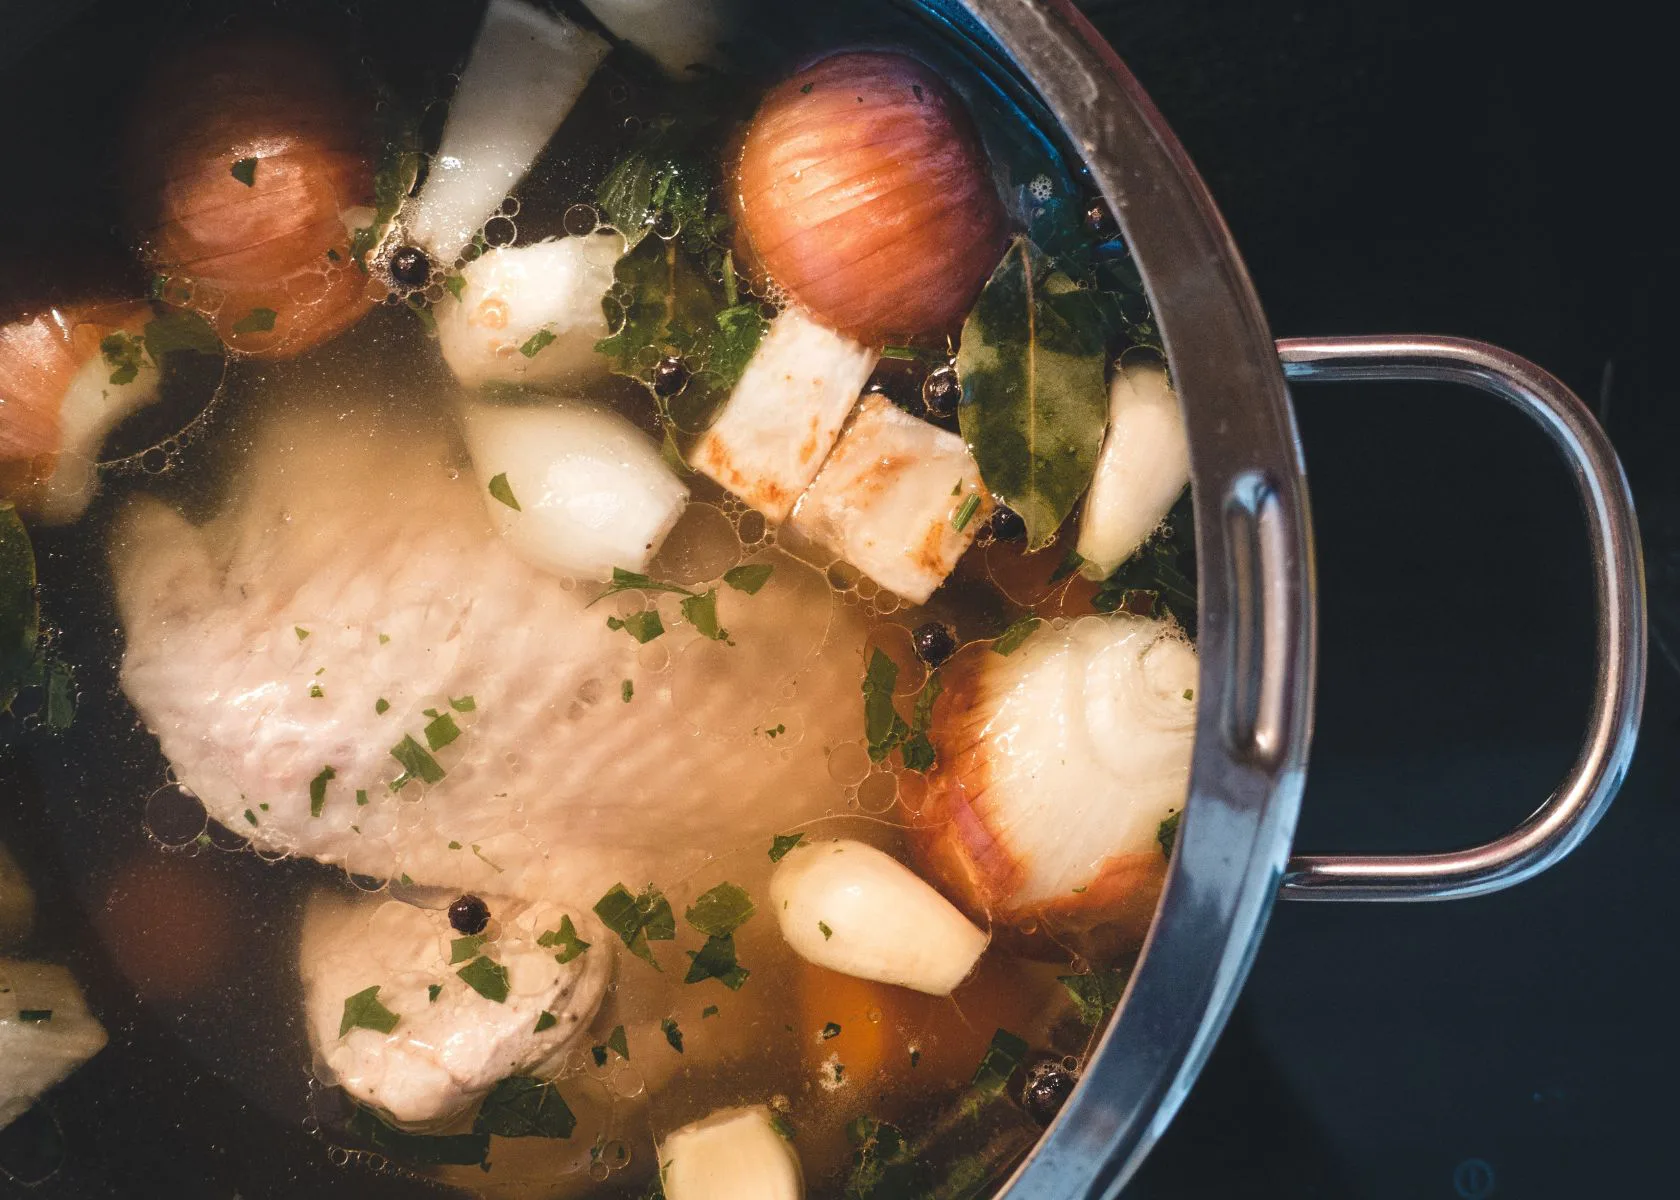
I prepare the chicken tenders by rinsing them under cold running water. Then, I pat them dry with paper towels and season with salt and pepper. For added flavor, I sometimes add herbs or spices to the pot of boiling water before adding the chicken tenders.
Ensuring that the chicken is clean and seasoned before boiling ensures a flavorful end result.
After prepping the chicken, it’s time to move on to the boiling process.
Boiling process
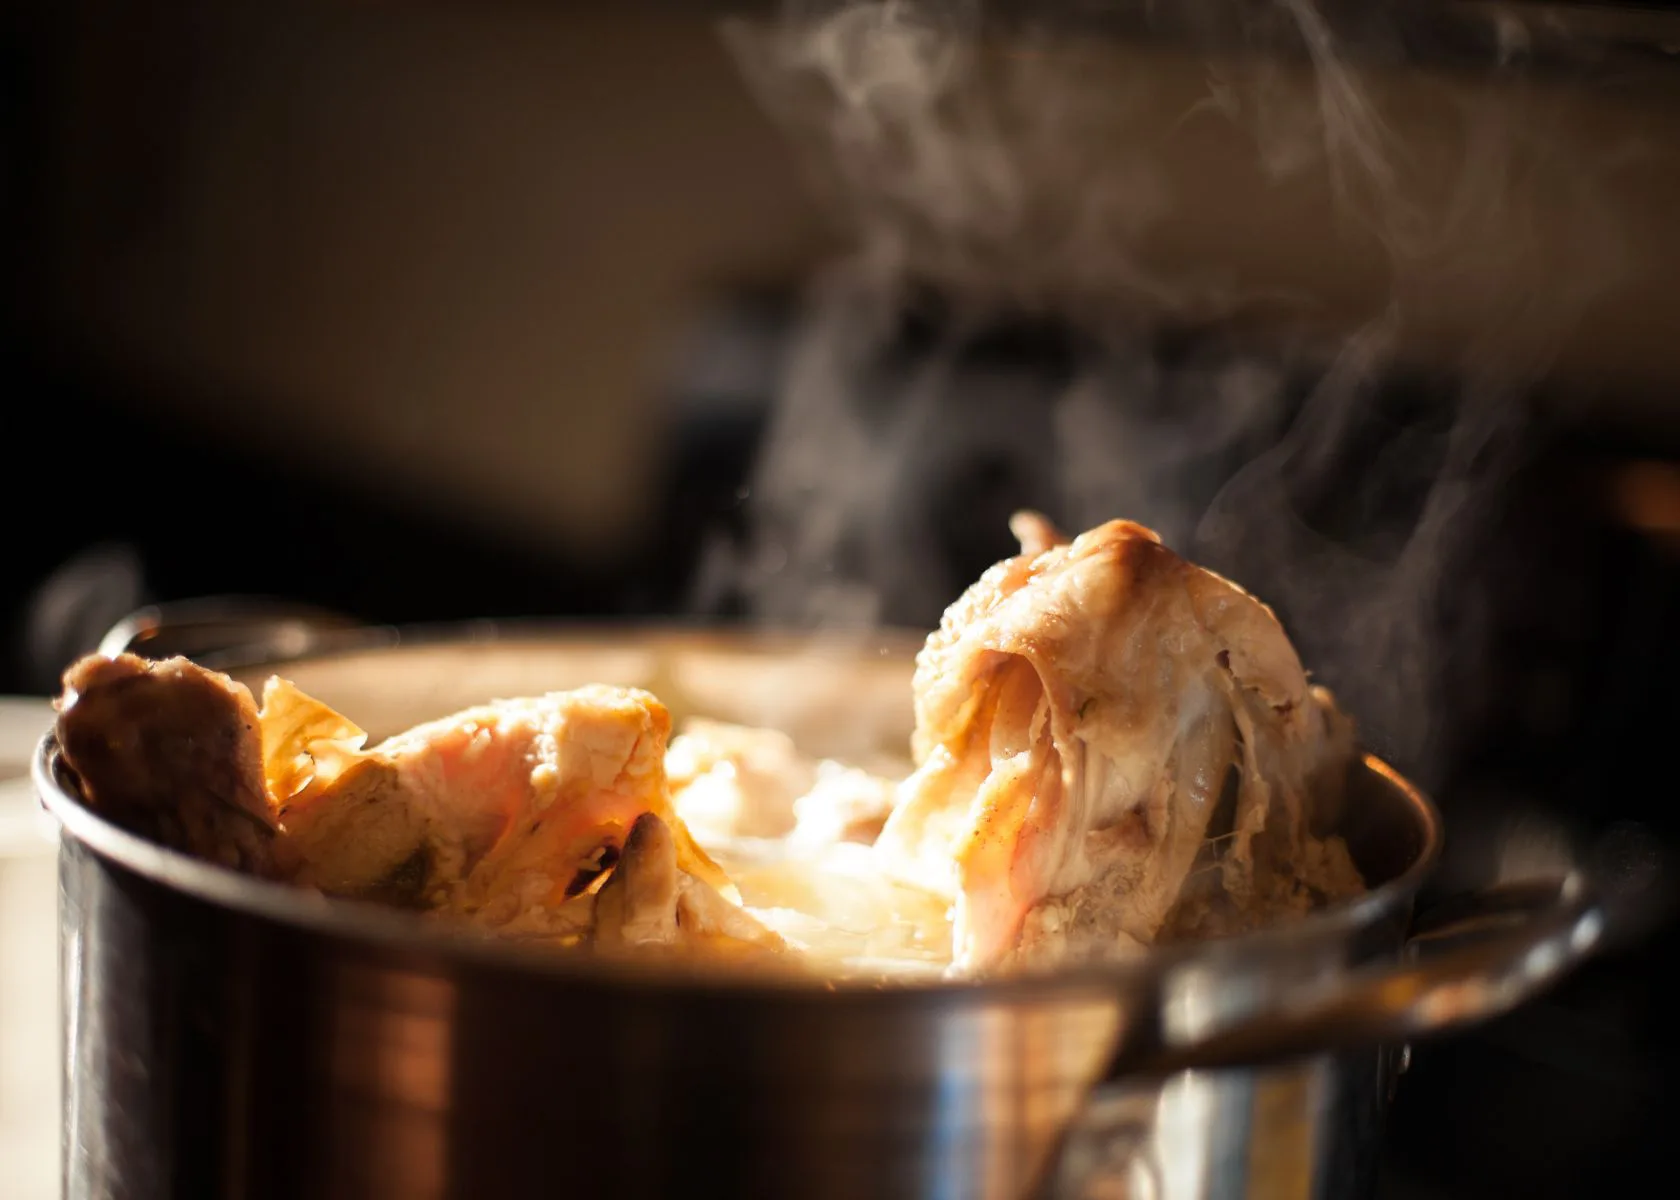
After prepping the chicken tenders, the next step is the boiling process. To ensure tender and juicy results, I bring a large pot of water to a gentle boil over medium-high heat. Then, I carefully add the chicken tenders to the pot and cover it with a lid.
It’s essential to maintain a constant gentle boil while cooking them; this will typically take around 15-17 minutes for fresh chicken tenders and 20-25 minutes for frozen ones.
Once they are cooked through, making sure they reach the appropriate internal temperature using a meat thermometer is crucial in maintaining food safety standards. After ensuring that they are fully cooked, remove them from the heat and let them rest for about 5 minutes before slicing or shredding for your desired recipe.
How Long to Boil Chicken Tenders
Fresh chicken tenders should be boiled for 15-17 minutes, while frozen chicken tenders will need to boil for 20-25 minutes. To learn more about the boiling process and other tips and tricks for cooking chicken tenders, keep reading!
Fresh chicken tenders: 15-17 minutes
Fresh chicken tenders require gentle boiling for approximately 15 to 17 minutes, depending on their size. To ensure they have properly cooked, I recommend using a meat thermometer to check that the internal temperature has reached the appropriate level.
This method is not only quick and easy but also provides tender poached chicken ready for use in various dishes or as a protein-packed meal on its own.
To achieve perfectly boiled fresh chicken tenders, it’s essential to bring them to a gentle boil and allow them to sit off the heat once cooking is complete. This process ensures juicy and flavorful results with minimal effort.
Frozen chicken tenders: 20-25 minutes
When boiling frozen chicken tenders, I simmer them for 20-25 minutes until they are fully cooked through. It’s essential to monitor the internal temperature with a meat thermometer to ensure they reach the appropriate temperature.
This method is ideal for preparing versatile and tender chicken that you can use in various recipes or as a quick protein option.
Keep in mind that boiling times may vary based on the thickness of the chicken tenders and the amount of water used during cooking. Once boiled, allow the tenders to rest before using them in your favorite dish or serving them as a delicious protein option.
Tips and Tricks
Shredding chicken tenders can make them more versatile for different recipes, such as salads, sandwiches, or wraps. For more helpful tips and tricks on boiling chicken tenders, keep reading!
Shredding chicken tenders
To shred chicken tenders, simply use two forks to pull the tender meat apart into small, bite-sized pieces. This method works best with freshly boiled chicken tenders while they are still warm, making the shredding process easier and faster.
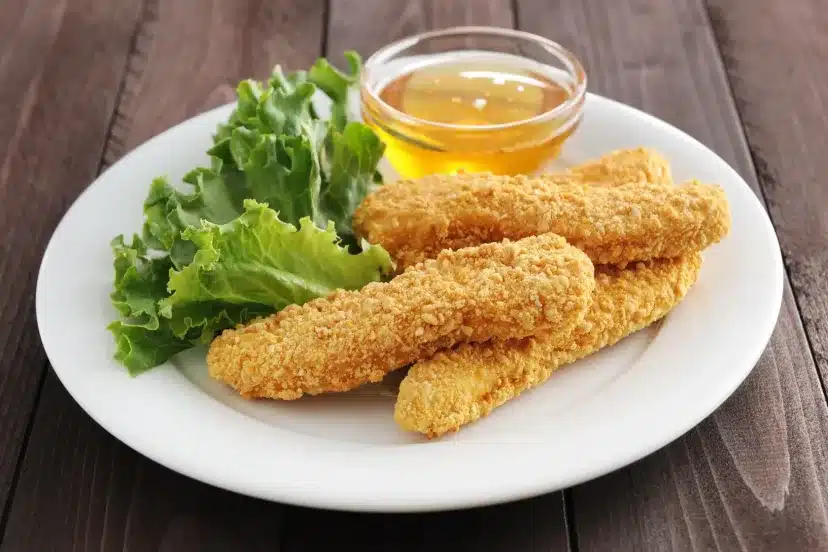
Once you shred the chicken, the tender chicken is ready to use in a variety of recipes such as tacos, sandwiches, salads, or casseroles.
For added flavor and moisture retention when shredding chicken tenders, consider tossing them in a bit of broth or sauce before pulling them apart. Shredded chicken can also be stored for later use by refrigerating it in an airtight container for up to 3-4 days or freezing it for longer-term storage.
Variations and serving suggestions
For a tasty twist, consider adding different herbs and spices to the boiling water. Fresh rosemary, thyme, or bay leaves can infuse the chicken tenders with aromatic flavors. Additionally, you can serve the boiled chicken tenders in a variety of ways such as in salads, sandwiches, or alongside vegetables for a quick and nutritious meal.
To enhance the flavor of the boiled chicken tenders, try seasoning them with garlic powder, onion powder, or paprika before boiling. After cooking, shred the poached chicken to use in tacos, wraps, or stir-fry dishes for added versatility.
Serve the shredded chicken over rice or quinoa for a simple yet satisfying meal that is sure to please everyone at the dinner table.
Storage and reheating methods
After preparing and enjoying your delicious chicken tenders, it’s essential to store any leftovers properly and know how to reheat them for the best results. Once cooled down to room temperature, place any leftover chicken tenders in an airtight container or resealable bag.
Store them in the refrigerator for up to 3-4 days, ensuring they are away from strong-smelling foods to prevent absorbing odors. When reheating, microwave on medium heat for 1-2 minutes or until heated through, or place them in a preheated oven at 350°F (175°C) for about 10 minutes to regain their tender texture and flavors.
Remember that proper storage and reheating methods can help maintain the quality of your chicken tenders and ensure safe consumption later on. Always check for any signs of spoilage before consuming leftovers!
Conclusion
In conclusion, boiling chicken tenders is a quick and efficient cooking method. You have learned the recommended boiling times for both fresh and frozen chicken tenders, providing practical guidance for preparing tender poached chicken.
Using a meat thermometer is essential to ensure the correct internal temperature of the chicken. By following these simple steps, you can efficiently prepare delicious and versatile chicken tender dishes or even cater to your pet’s needs with confidence.
Keep experimenting with different variations and serving suggestions to enhance your culinary experience!
FAQs
1. How long should I boil chicken tenders on the stove?
You should boil chicken tenders on the stove for about 10 to 12 minutes or until they cook completely with no pink inside.
2. Can I poach frozen chicken tenderloins, and if so, how does that change the cooking time?
Yes, you can poach chicken tenderloins from frozen; just extend the cooking time by a few minutes, making it approximately 12 to 15 minutes in total.
3. What’s the best way to cook chicken breast tenders for dogs?
When boiling chicken breast tenders for dogs, make sure they cook thoroughly without any seasoning for about 10 to 12 minutes.
4. After boiling my poultry tenderloins, how do I shred them effectively?
Once your poultry tenderloins have boiled and are cool enough to handle, use two forks or your fingers to pull apart and shred them into pieces easily.
5. Is simmering different from boiling when preparing chicken breasts?
Yes! We do simmering at a lower heat than boiling. It is a gentler cooking method where smaller bubbles form but do not break the surface as vigorously as in boiling.