
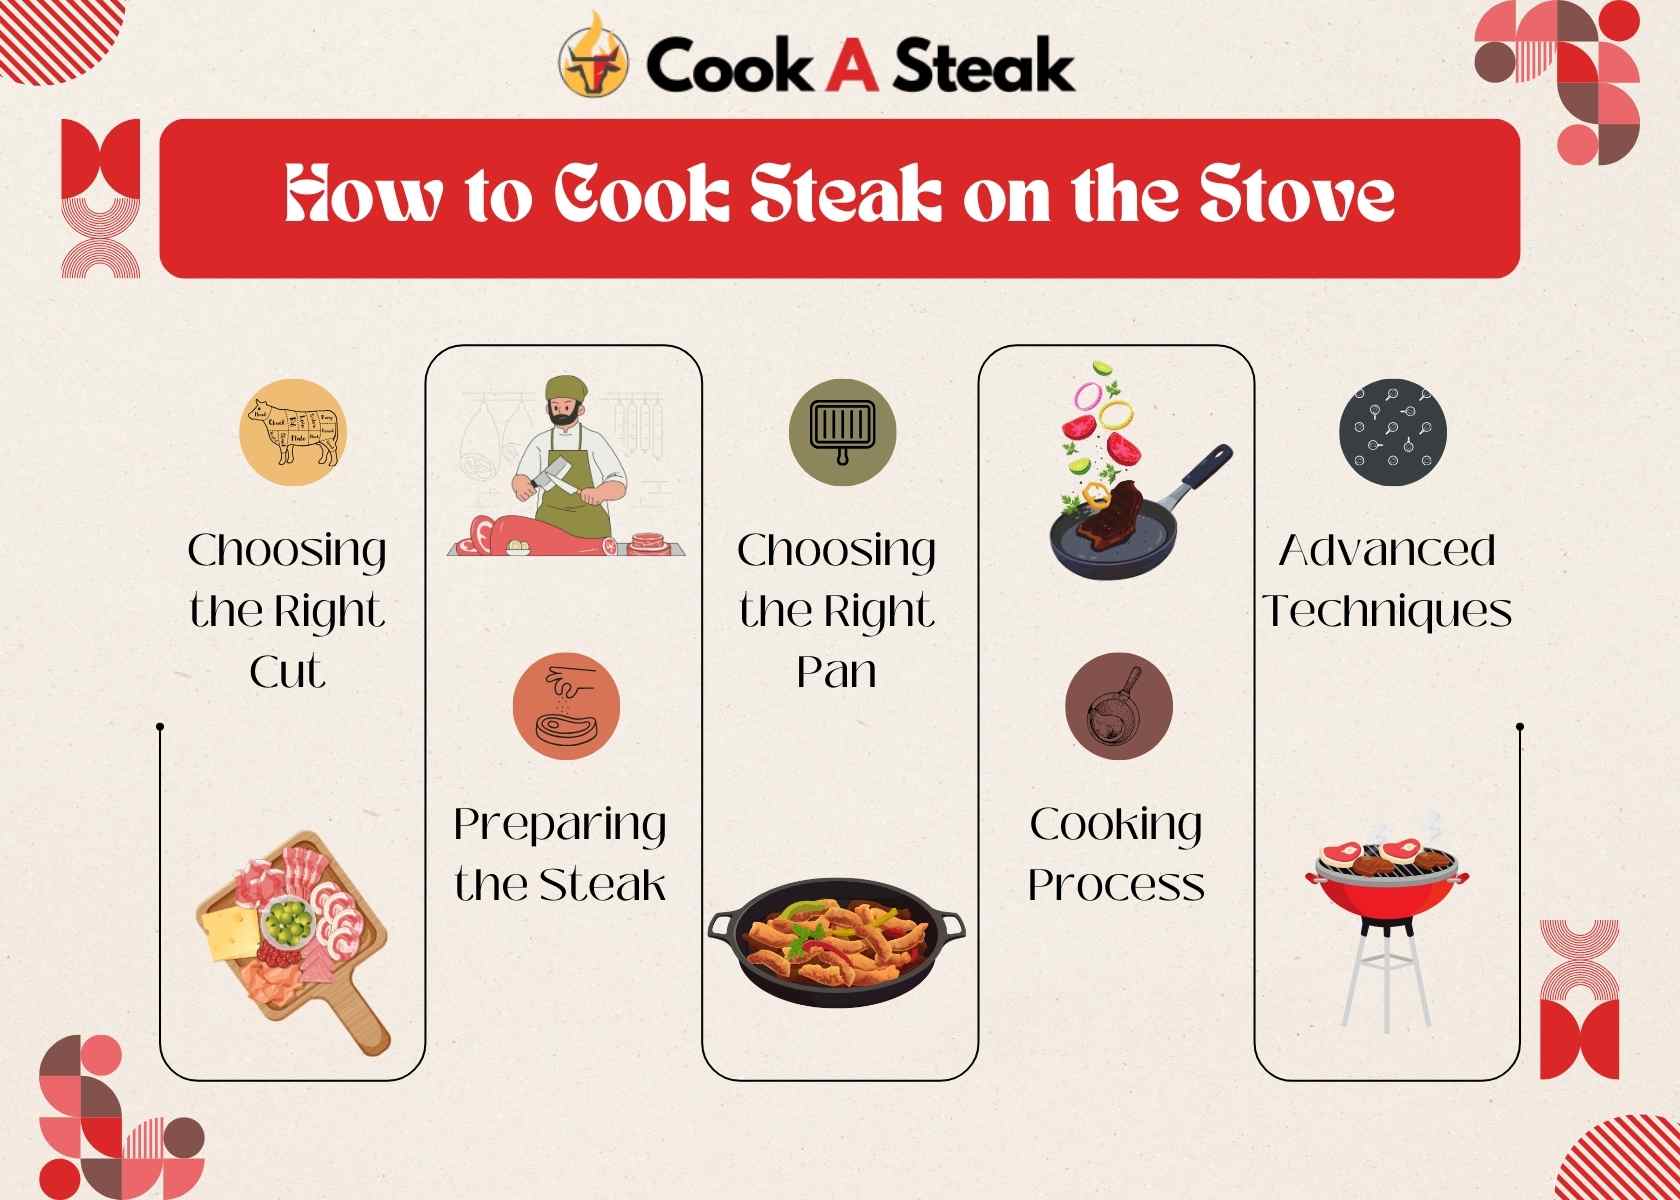
Cooking a steak on the stovetop is a skill for any home cook to master. While some may prefer grilling or broiling, searing a steak in a pan provides control over the cooking process. Interested in learning how to cook steak on the stove? Let’s explore the art of stovetop steak preparation.
This comprehensive guide will walk you through the steps of cooking a steak on the stovetop, discussing everything from selecting the cut and pan to refining your cooking techniques for that sear.
Selecting the Perfect Cut
The next stage in preparing stovetop steak involves choosing the cut. While there are options, certain cuts are more suitable for pan searing. Here are some popular selections;
Ribeye
Ribeye is favored by steak enthusiasts for its flavor and generous marbling. The marbling, which denotes fat dispersed throughout the meat, helps preserve moistness and tenderness during cooking. When pan-searing, opt for a ribeye with marbling and a layer of fat along the edges to enhance taste.
Filet Mignon
Also referred to as tenderloin filet mignon, this cut of beef is exceptionally tender.
While it may not offer the same flavor profile as ribeye, its velvety texture and subtle taste make it an appealing choice for searing in a pan. Choose a filet mignon steak, for satisfying results.
To ensure your steak cooks evenly throughout, it’s important to season it
New York Strip
Known as the strip steak or New York strip, this cut offers a balance of tenderness and flavor. Its hearty, beefy flavor and moderate marbling make it an excellent option for pan-searing. Look for a slice with a layer of fat on one side for extra richness.
Flank Steak
Though not commonly chosen for pan searing, the cuts of flank steak can still be tasty and cost-effective. This lean cut benefits from a sear to develop a crust while keeping its juiciness intact. Slicing the flank steak against the grain is key to ensuring tenderness.
Once you’ve picked out your preferred cut, it’s time to move on to the stage: getting your steak ready for cooking.
Preparing the Steak
Before delving into stovetop cooking techniques, there are steps to take in preparing your steak properly before achieving that perfect sear.
Patting the Steak Dry
Before you start cooking, make sure to dry off your steak with paper towels. Excess moisture can interfere with getting that sear and caramelization on the steak, resulting in a flavorful crust.
Bringing the Steak to Room Temperature
To ensure cooking, let your steak sit at room temperature for 30 minutes to an hour before putting it on the heat. This way, the steak will cook consistently from edge to edge.
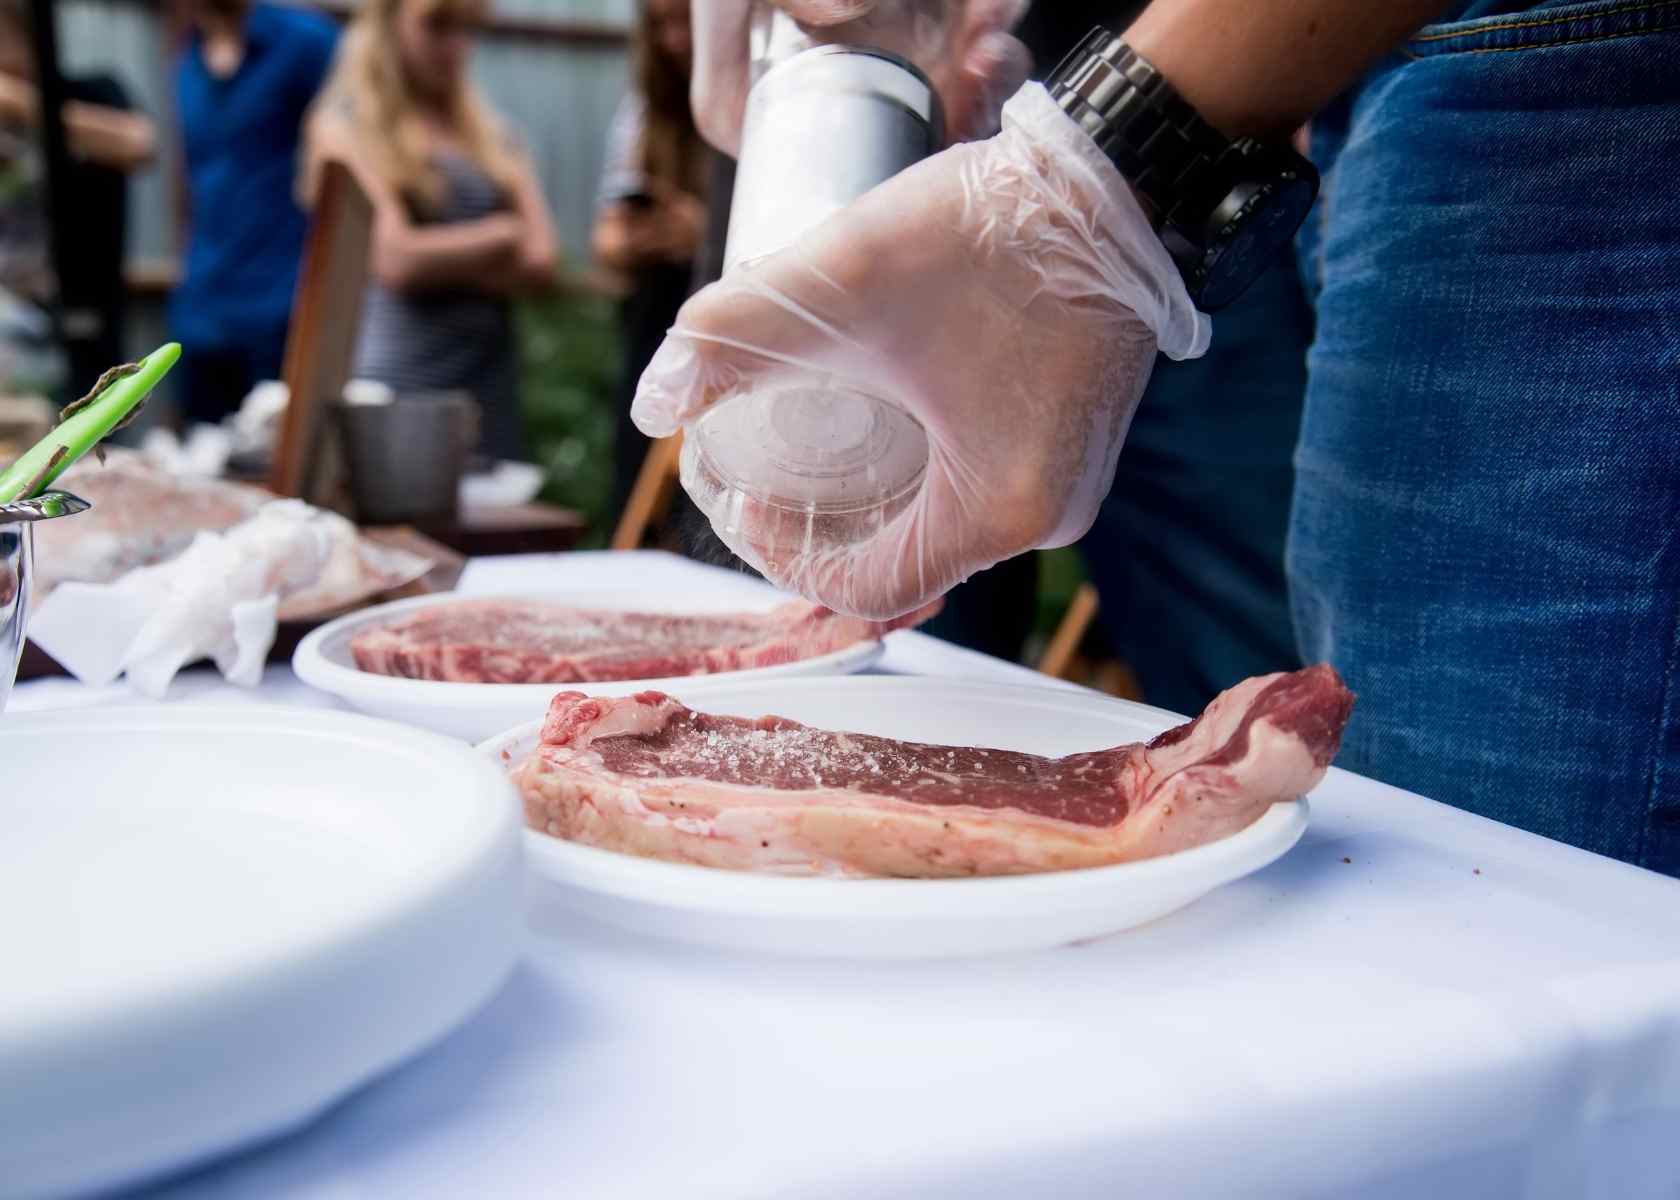
Seasoning
Seasoning is key to enhancing the taste of your steak. While some believe that salt and pepper are enough, using salt, or coarse sea salt, can give your steak a crust. Make sure to season with salt and ground black pepper right before cooking for even flavor distribution.
Choosing the Right Pan
Choosing the pan is crucial for the searing process when cooking your steak.
For results, consider selecting a pan that can handle high temperatures and distribute heat evenly across its surface. Here are some popular choices:
Cast Iron Skillet
A seasoned cast iron skillet is considered the best choice for searing steaks. Its exceptional heat retention and naturally non-stick surface make it perfect for achieving a sear. Cast iron pans can also be preheated to certain temperatures, ensuring that the steak sears instantly upon contact.
Stainless Steel Pan
Stainless steel pans are another great option for searing steaks. Look for a high-quality pan that can withstand heat without warping or staining. While not as non-stick as cast iron, a preheated stainless steel pan can still produce a sear.
Carbon Steel Pan
Carbon steel pans blend the heat retention of iron with the appearance of stainless steel. They are capable of creating a sear and developing a non-stick surface over time with proper seasoning and maintenance.
Regardless of your choice of pan, ensure it is oven-safe if you intend to finish the cooking process in the oven.
The Cooking Process

Now that you’ve picked your cut prepped your steak and selected your pan, it’s time to learn how to cook steak on the stove. Here’s a step-by-step guide to achieving a cooked steak on the stovetop:
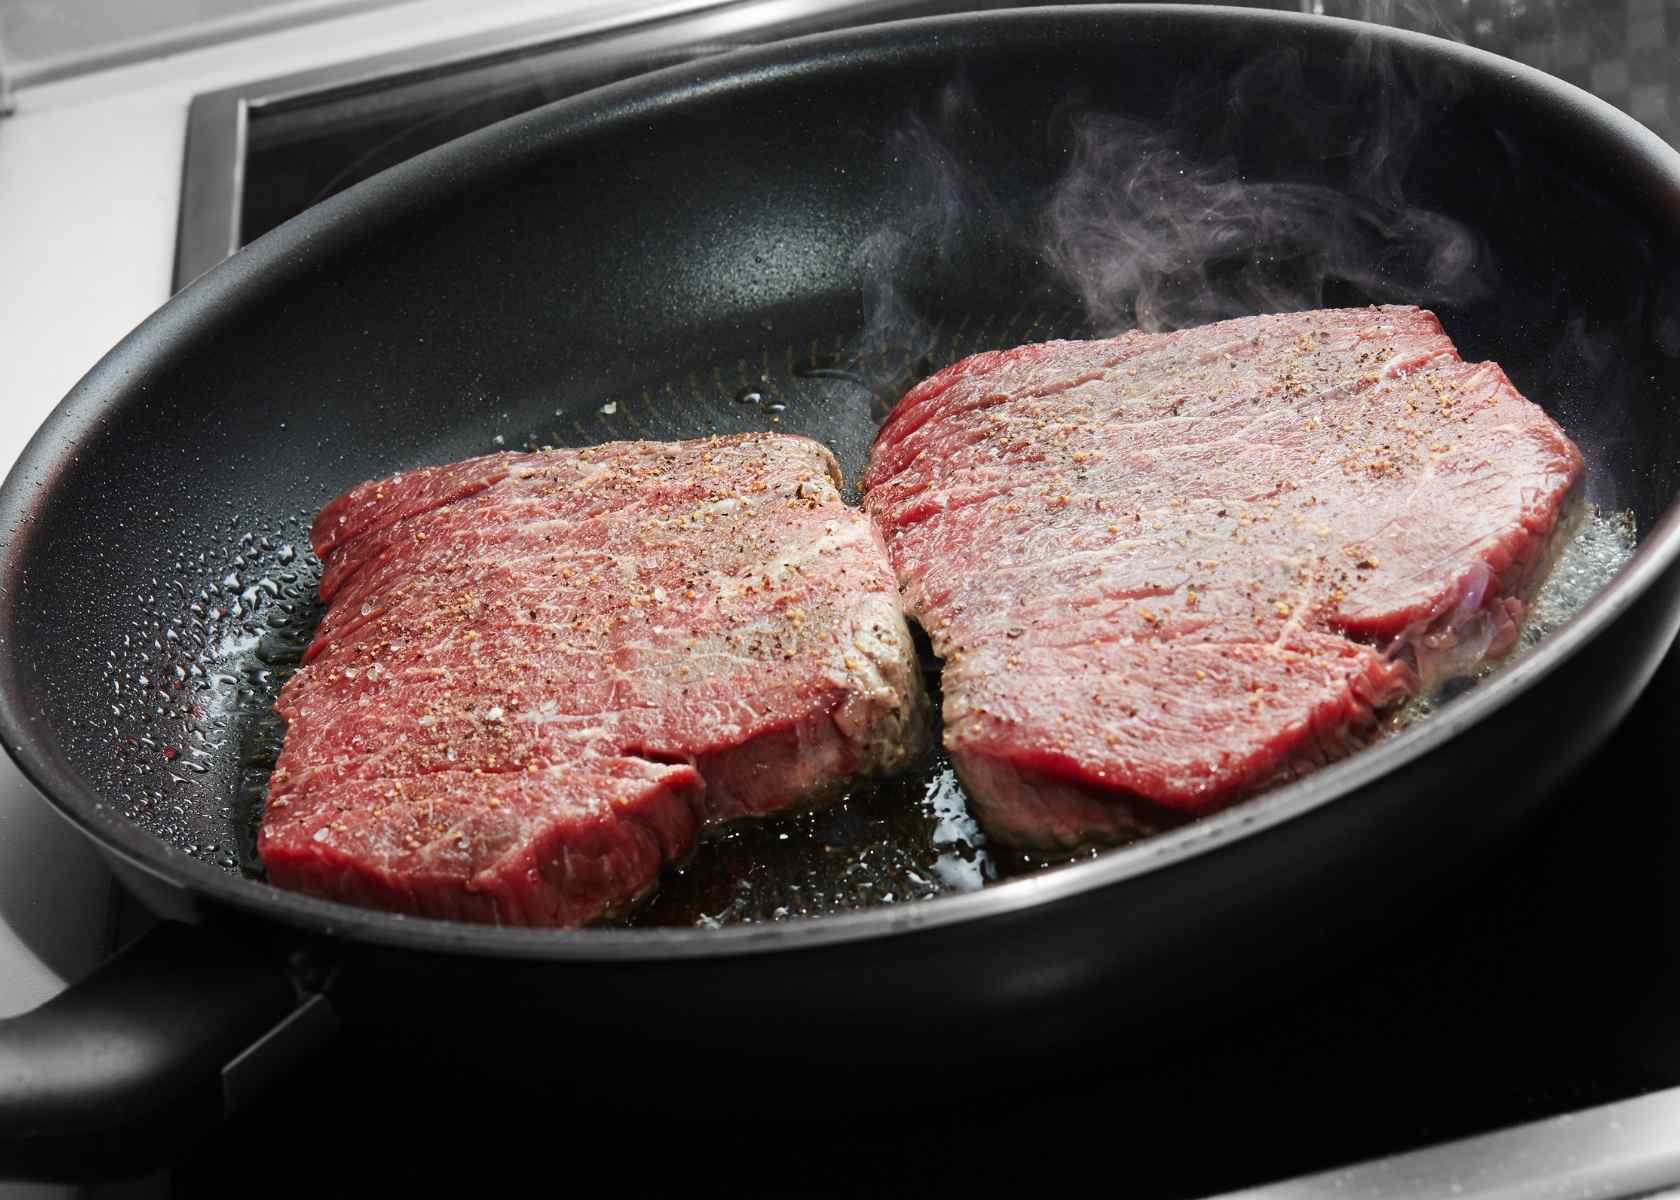
Preheating the Pan
Getting your pan nice and hot is essential for getting that sear. Place your pan over the heat. Let it heat up thoroughly before adding any oil or the steak. You’ll know it’s ready when a drop of water sizzles. Quickly evaporates upon touching the surface.
Adding Oil or Butter
Once your pan is heated up, add a bit of high-heat oil or butter to it. Avocado oil, grapeseed oil, or clarified butter (ghee) are all choices that can handle the temperatures needed for searing. Swirl the oil or butter around to coat the bottom of the pan evenly.
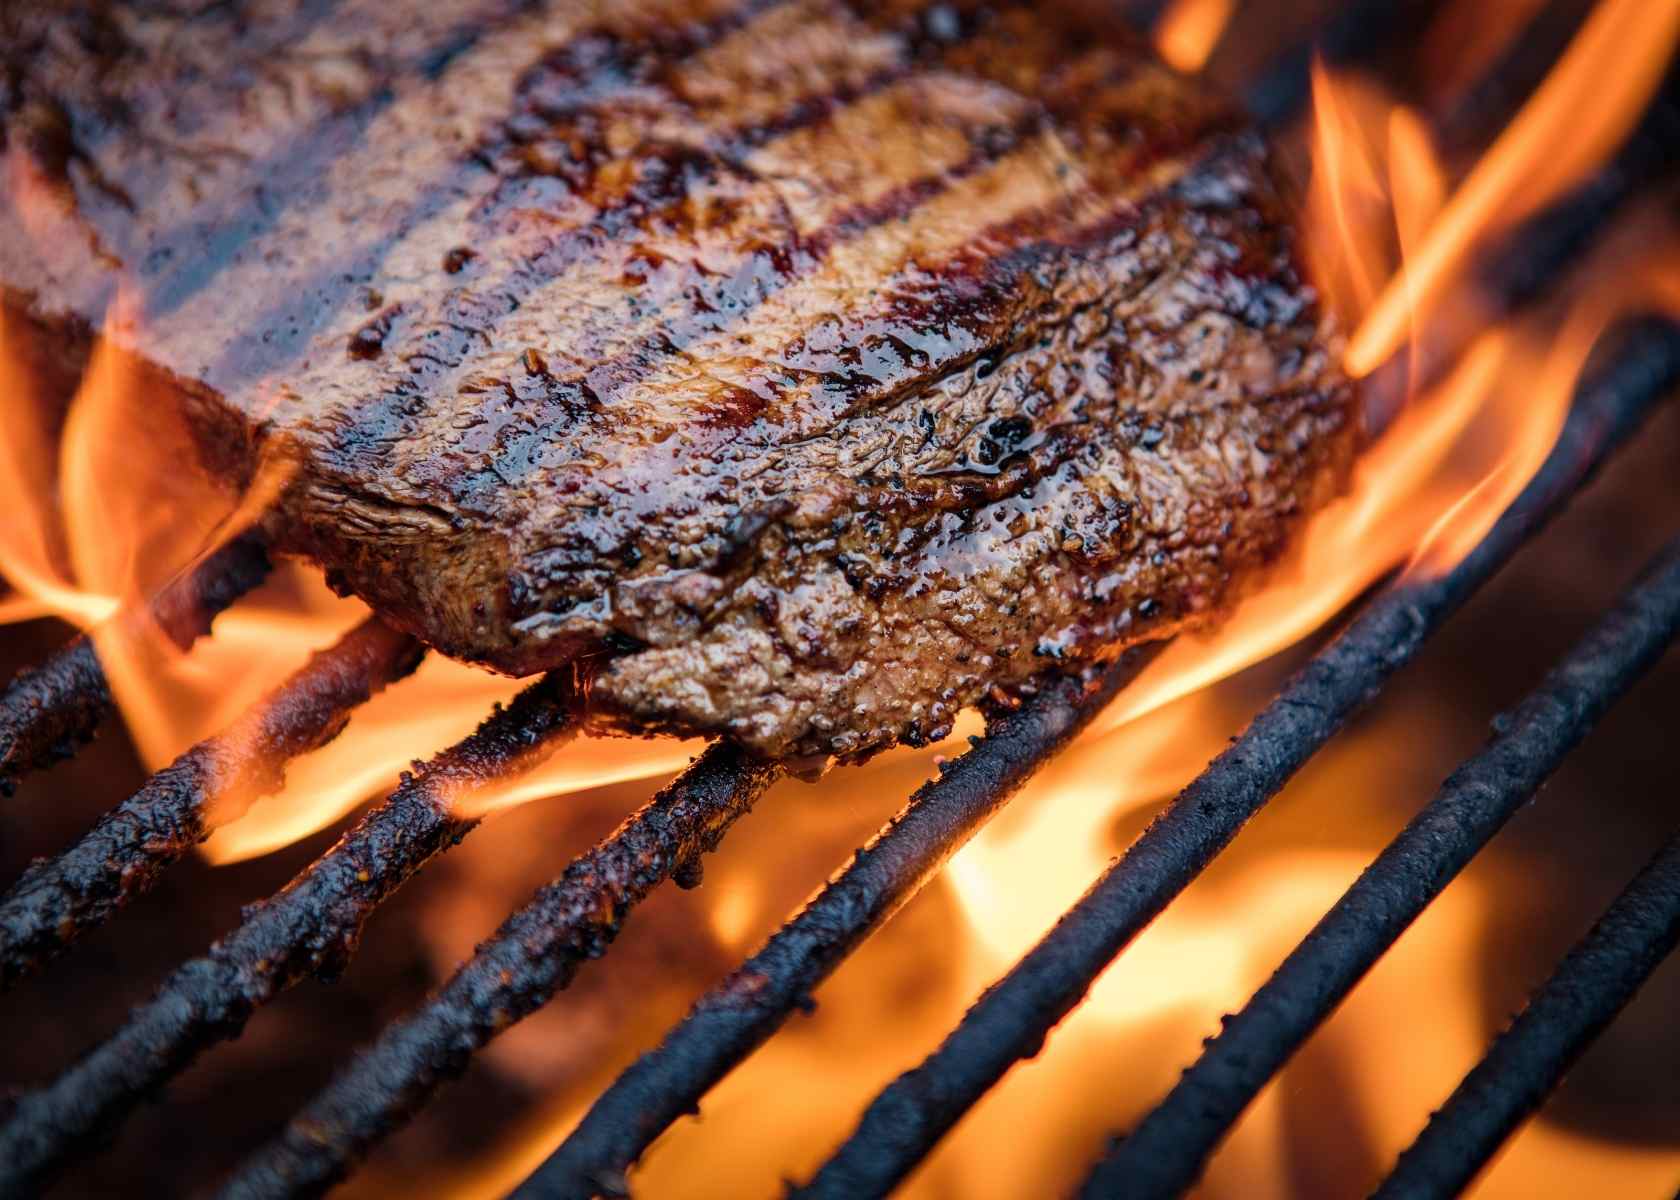
Searing the Steak
Gently place your steak in the pan using tongs or a spatula to prevent any splattering from hot oil. You should hear a sizzle as soon as the steak touches the pan. Let it sear without moving it for 2–3 minutes or until a brown crust forms on the underside.
Grilling and Brushing
Using tongs, flip the steak over and sear the other side for another 2-3 minutes. If your pan has a good amount of fat rendered from the steak, you can tilt the pan and use a spoon to baste the steak with the hot fat, further enhancing the crust and flavor.
Checking for Doneness
The cooking time will vary based on how thick your steak is and how well done you want it. Use a meat thermometer to check the temperature of the steak. Here are the recommended temperatures for levels of doneness:
- Rare: 120-125°F (49-52°C)
- Medium-rare: 130–135°F (54–57°C)
- Medium: 140–145°F (60–63°C)
- Medium-well: 150–155°F (66–68°C)
- Well-done: 160°F (71°C) and above
Remember that the temperature will increase slightly after taking the steak off the heat, so target about 5°F (3°C) below your desired doneness temperature.
Resting the Steak
Once you’ve cooked the steak to your liking, move it to a cutting board or plate. Let it sit for 5–10 minutes. Allowing the steak to rest helps the juices spread evenly throughout the meat, making it tastier and more succulent.
Finishing Touches
After resting, you can enhance the flavor by topping your steak with a compound butter, like herb or cheese butter. Just place a spoonful of the butter on top of the steak. Let it melt, infusing the meat with an extra kick of taste.
Advanced Techniques
While following the stovetop method outlined above will result in delicious steak, there are some techniques that can elevate your culinary skills:
Reverse Searing
Reverse searing is a method where you first cook the steak slowly in the oven until it is slightly undercooked, then sear it on high heat on the stovetop for a perfect crust. This approach ensures that your steak is evenly cooked inside while achieving a crispy exterior.
To reverse sear, preheat your oven to 275°F (135°C).
Place the steaks on a wire rack over a baking sheet. Cook them until they are 10 15°F (6 8°C) below your desired level of doneness. This slow cooking process may take around 30 minutes to an hour, depending on how thick the steaks are.
Once the steaks have reached the desired temperature, take them out of the oven and let them rest for about 10 minutes. Meanwhile, heat up your iron skillet or another safe pan on high heat until it’s really hot.
Put a bit of oil or fat in the pan, then gently place the steaks in it. Sear each side for 1–2 minutes until you get a caramelized crust. Since the steaks are already mostly cooked inside, they just need a sear on each side.
The reverse searing technique not only ensures that the steak is cooked evenly throughout but also helps you achieve a crust without overcooking the inside.
Basting with Aromatics
Adding ingredients, like garlic, herbs, or butter, while basting your steak can enhance its flavor on the stovetop. When the steak is cooking, tip the pan slightly. Use a spoon to collect the fat, then pour it over the steak continuously to keep it moist.
For a burst of flavor, consider adding garlic cloves, fresh herbs like thyme or rosemary, or even a bit of butter to the hot pan before basting. The heat will blend these ingredients into the fat, allowing you to coat the steak to your liking.
Finishing in the Oven
While some steaks can be fully cooked on the stovetop, thicker cuts may benefit from finishing in the oven after a sear. This method helps achieve a crust while ensuring that the inside is cooked right.
After searing both sides of your steak in a pan, transfer either the pan (if oven-safe) or just the steak itself to a preheated oven at 400°F (205°C). Cook until it reaches your temperature, using a meat thermometer to check its doneness along the way.
After the steak is cooked to your liking, take it out of the oven. Allow it to sit for 5 to 10 minutes before slicing and serving.
Steak Doneness and Carryover Cooking
It’s important to grasp the idea of carryover cooking when preparing steaks on the stovetop. Carryover cooking refers to the cooking that happens once the steak is no longer in contact with heat. The steak’s internal temperature continues to increase by a degree as heat from the layers spreads inward.
To accommodate carryover cooking, remove your steak from heat when it is 5°F (3°C) below your desired doneness temperature. For example, if you want a steak, remove it from the heat once it reaches 125°F (52°C).
Allowing the steak to rest for 5–10 minutes post-cooking will also contribute to carryover cooking. Remember to consider that in your timing.
Pairing Sauces and Sides
While a cooked steak can be enjoyed on its own, pairing it with sauces and side dishes can enhance the dining experience significantly. Here are some tasty choices to think about:
Sauces
- Chimichurri: This lively green sauce crafted with parsley, garlic, olive oil, and red wine vinegar adds an herb-infused taste to your steak.
- Béarnaise: Velvety, this traditional French sauce created with egg yolks, butter, and herbs serves as the accompaniment to a flawlessly seared steak.
- Peppercorn Sauce: A timeless steak condiment prepared with brandy, cream, and an abundance of peppercorns that brings a lavish and peppery punch to your steak.
- Red Wine Reduction: Simmer a wine with beef stock, butter, and aromatic ingredients for a deeply flavored sauce that complements the richness of your steak.
Sides
- Roasted Garlic Mashed Potatoes: Silky, smooth mashed potatoes infused with garlic are a match for steak, delivering a comforting and decadent side dish.
- Sautéed Mushrooms: Hearty mushrooms sautéed in butter and garlic create an earthy side dish for your steak.
- Grilled Asparagus: Fresh, crunchy asparagus spears grilled with a hint of olive oil and salt offer a lighter, more invigorating contrast to the opulence of the steak.
- Roasted Brussels Sprouts: These Brussels sprouts are cooked until crispy. Paired with bacon or pancetta to add a touch that complements the rich flavors of the steak,
Cooking a steak on the stovetop goes beyond just following a recipe; it’s about grasping the techniques and principles involved in the process. With dedication and practice, you’ll soon excel at preparing mouthwatering steaks on your stovetop, achieving restaurant-quality results in your kitchen.
Tips and Tricks for Perfect Stovetop Steaks
In addition to mastering the methods of cooking steak on the stove, incorporating some tips and tricks can ensure your stovetop steaks come out perfectly every time.
Use a Meat Thermometer
Having an instant-read thermometer is an invaluable asset when cooking steaks on the stovetop. Estimating doneness based on touch or visual cues can be tricky for those new to cooking. A meat thermometer eliminates guesswork by allowing you to accurately monitor your steak’s temperature and take it off the heat at the right moment.
Let Steaks Rest After Salting
Remember to give your steaks some time after you season them with salt before you start cooking. Letting them sit for 30 minutes helps the salt work its magic by seeping into the meat and creating a crust when you sear it. It also allows the salt to draw out some moisture from the steak, which enhances the process.
Use a Combination of Oils
To get that sear, try using a mix of oils that have smoke points. Begin by heating up an oil with a smoke point, such as avocado or grapeseed oil, to kick off the process. Once your steak is in the pan, you can introduce a bit of butter or olive oil for added flavor and richness, even though they have smoke points.
Dry Brine for Extra Flavor
For a burst of flavor, consider dry-marining your steaks. Simply season them generously with salt. Let them rest uncovered on a wire rack in the fridge for hours, or even up to 24 hours. This easy technique can really elevate the taste of your steaks. When you sprinkle salt on the steaks, it helps to enhance the flavor by drawing out moisture, which is then absorbed back into the meat along with the salt.
Enhance with Herbs and Spices
Apart from brushing your steaks with the drippings and melted butter, you can elevate their taste by incorporating herbs, garlic, or other aromatic ingredients into the pan. Whole sprigs of thyme, rosemary, sage, or even crushed garlic cloves can infuse the basting fat with their aromas and flavors, further enhancing the taste of your steak.
Try out seasoning blends
Although using salt and pepper is traditional, feel free to explore different seasoning blends to enhance the taste of your steaks. Mixing smoked paprika, cumin, and garlic powder can introduce an earthy flavor profile, while a blend of dried herbs like thyme, rosemary, and oregano can add an herbal touch. There are options, so don’t hesitate to experiment and discover your flavor combinations.
Master the Cross-Hatch Sear
For a presentation and extra flavor dimension, practice the crisscross sear technique. After searing one side of your steak, turn it 90 degrees. Sear it again to create a crisscross pattern of grill marks. Repeat this process on the side of the steak. This method does not look visually appealing. Also maximizes the surface area for developing a flavorful crust.
Let Steaks Rest Properly
It is essential to let your steaks rest adequately after cooking to ensure they remain juicy and tender. As mentioned earlier, allowing your steaks to rest for 5–10 minutes before slicing enables the juices to redistribute throughout the meat.
Make sure not to leave the steaks resting for long because they could keep cooking and end up overdone. Try to let them rest for 5–7 minutes for the outcome.
With these suggestions and methods, along with the cooking techniques mentioned earlier in the article, you’ll soon become skilled at preparing mouthwatering steaks that rival those found in restaurants on your stovetop.