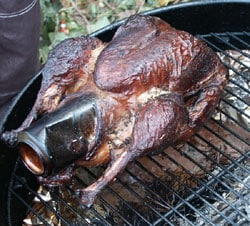
The great plus point of this beer-can recipe is that the beer that comes out of the can gently steams the inside of the turkey keeping it tender and juicy. By combining spices and herbs with the beer you get a whole new flavor. Naturally you’ll are going to need a rather large beer can.
Do yourself a favor and don’t buy just any beer for cooking your Turkey. There are many very flavorful beers on the market. Some are dark and powerful and others light and fruity. A beer for every possible taste. These beers normally don’t come in a can. No worry, you can simply buy a cheaper can of beer, drink this cheaper one yourself and pour your high quality beer very carefully into the can you emptied of the cheaper beer.
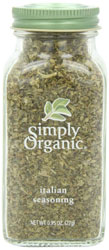
Italian Herbs
If you can’t find Italian herbs then mix your own. Italian herbs are a mixture of thyme, bay leave, parsley, sage, rosemary, oregano, basil and sometimes a red pepper. Any combination that appeals to you will do. This is the way any Italian cook with a small herb garden would work. Just go for what is available at the time.
This recipe is a combination of grilling and smoking. By smoking your Turkey you will get the maximum flavor and will be moist and juicy . In this recipe a small house barbeque/grill is used. If you want to learn more about smoking then read the special page Smoking techniques
Ingredients for your Beer-can Turkey
1 turkey 12 to 14 lb
1 tbsp dried Italian herbs .
1 teaspoon garlic powder .
1 teaspoon salt
1 teaspoon pepper .
¼ cup olive oil.
fresh Italian herbs
2 spring onions.
1 head of garlic.
large can of beer
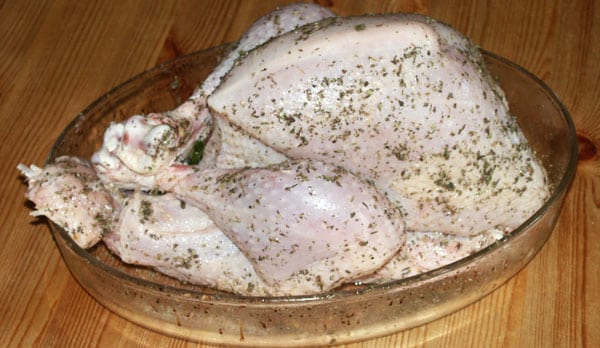
Marinade your Beer-can Turkey one day previous to cooking.
Use a marinade of dried Italian seasoning , garlic powder, salt and pepper with a little olive oil .
Rub this mixture on the turkey and let it marinate for one days.
Soak some wood chips for smoking overnight in water so that they will not burn too fast. This is necessary due to the high temperature of the charcoal while smoking. Small chipped fruit or nutwood will do fine.
Preparing your Beer-can Turkey
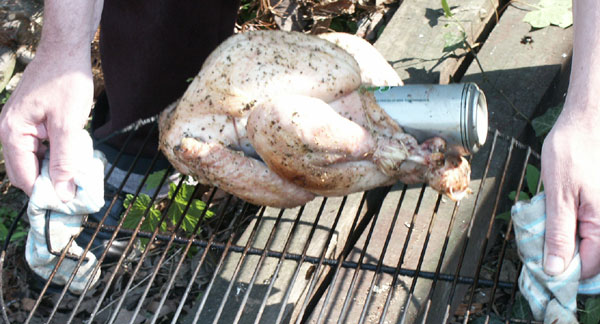
Before the turkey can go on the BBQ , you have to stuff it with fresh Italian herbs, the spring onions and half the cloves from your garlic head. Crush them a little under a the flat side of a kitchen knife for more flavor.
Grilling your Beer-can Turkey
Pour about half of the beer in the drip tray and putt the can with the rest of the beer in the cavity of the turkey. Grill your Turkey for about half an hour on a hot grill.
TIP: If you have a big grill, it’s better to put your Turkey in a more upright position. Whether you are grilling, smoking or oven roasting your bird, it is important for the turkey to fit with at least two inches of space between the top of the standing turkey and the top of whatever you are cooking the turkey in. If you’ve cut the bony end off the back of the turkey, it will sit lower, but before you try a beer-can turkey, make sure it fits.
Smoking your Beer-can Turkey
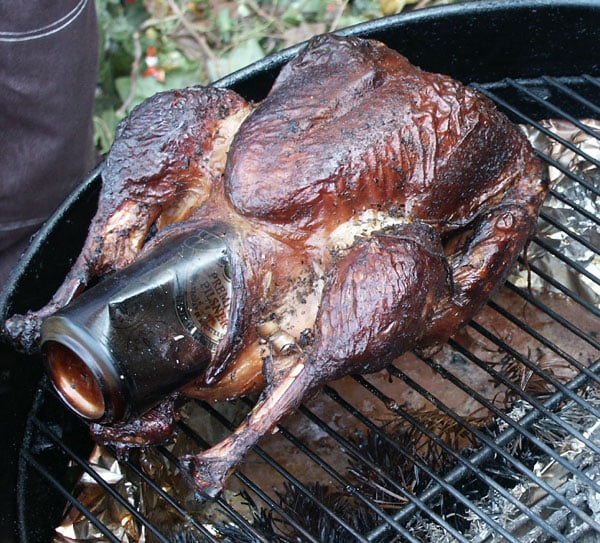
Add some of your smoking wood chips to the grill. There should be no flames anymore, just a thick layer of glowing coals. Close the lid and regulate the heat using the vents. Once you see a clear plume of smoke coming from the vents you can almost close the vents under the coals. The vents at the top of the lid of the smoker should always remain fully open. Add new wood from time to time.
Baste your Turkey from time to time with the beer in the tray. The yeast and malt in beer react with the turkey, particularly the skin, making it thin and crispy while the meat remains juicy.
Turkey is done when thermometer reads 165°F and drumsticks move easily when lifted or twisted. If necessary, cover turkey breast with heavy-duty aluminum foil during this period to prevent excess browning.
In this case, the turkey took 1 hour and 45 minutes of smoking .
When he’s done, let your Beer-can Turkey rest for 15 minutes before carving.
If you simply can’t see what I have in mind than watch this video and you will see exactly how this works,
